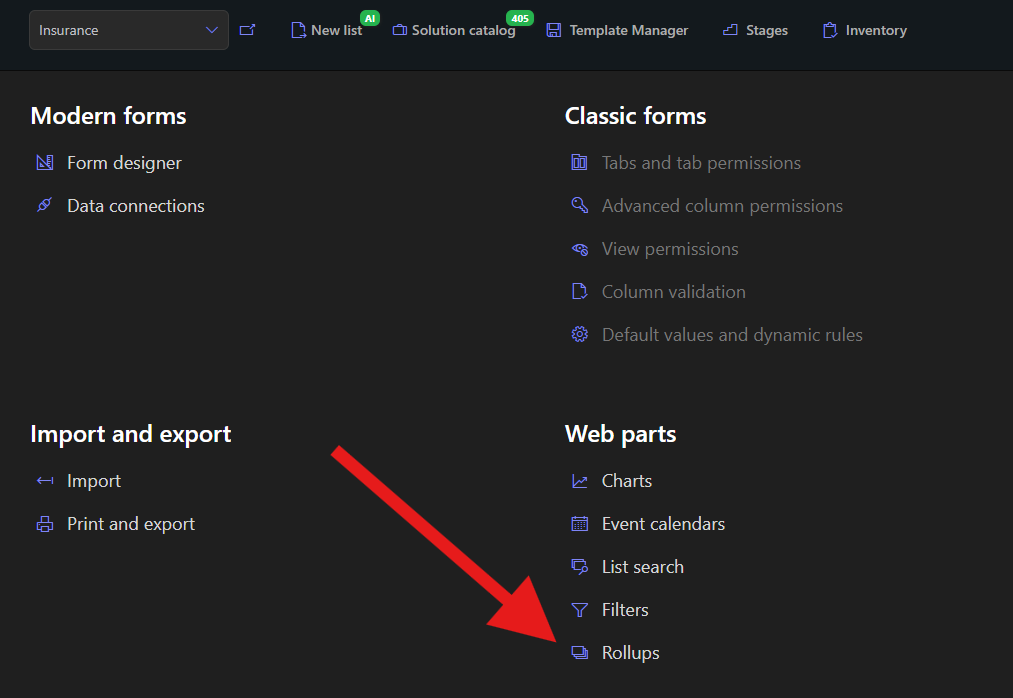
The Rollup feature provides the ability display items from multiple lists or document libraries in one place. You can choose to roll up items from a single site, a site and its subsites, or an entire site collection.
In Microsoft 365, rollups are created within Ultimate Forms and then added to web part pages.
Instructions
Part 1: Creating the Rollup
- From your site contents, select the Ultimate Forms app
- Under Configure App Parts, select Rollup
- On the General tab, enter a name for your new rollup
- Select the Template type that your rollup will be based on. The web part will derive its general properties for displaying the aggregated items from this existing template list. You will usually find this on the current site. However, you can enter a URL for a different site and use a list there.
The template list has to have the same column names as the data-containing lists. Not all columns must be the same, but the columns included in the displayed view must be identical. The web part will use the template list and view to determine which columns from the data-containing lists to display.
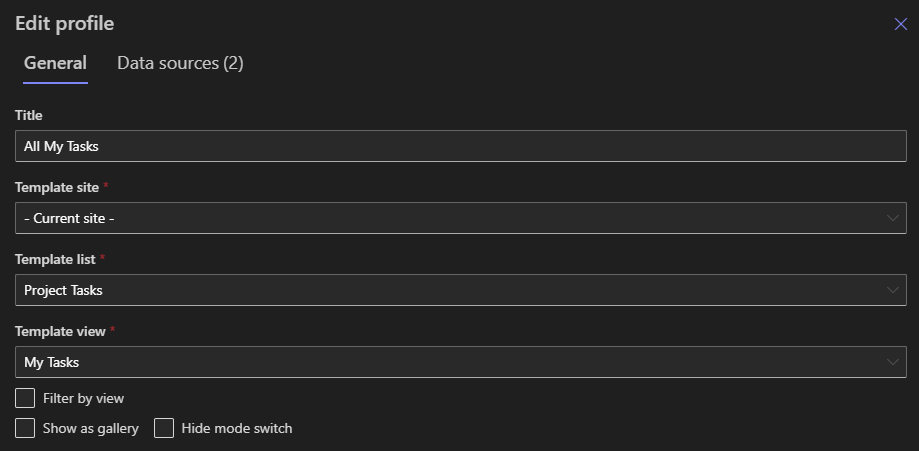
- You can also filter by specific view, if desired
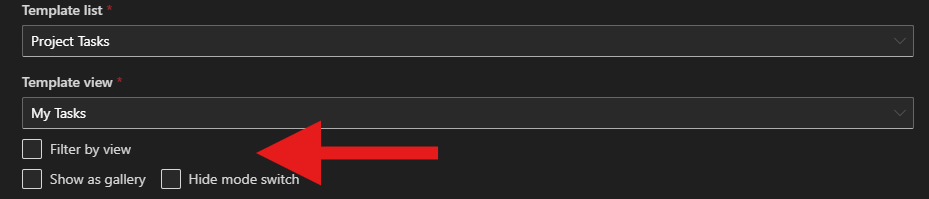
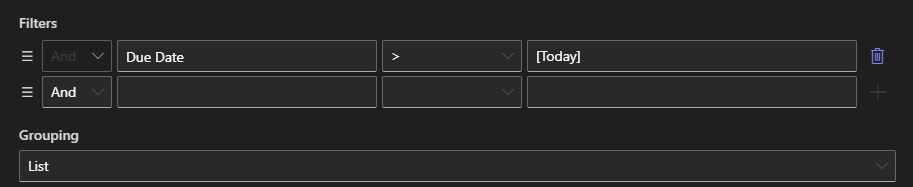
- You can add filters and group the rollup by site, list, or use no grouping. If you use grouping, you can select the option to have the groups collapsed by default.
- You can also limit how many items are shown per page in the rollup, which is useful for large lists.
- On the Data Sources tab, define the scope of the rollup. Scope can be current site, current site and subsites below it, or the entire site collection (dependent on permissions). The data source lists can be found in any site collection.
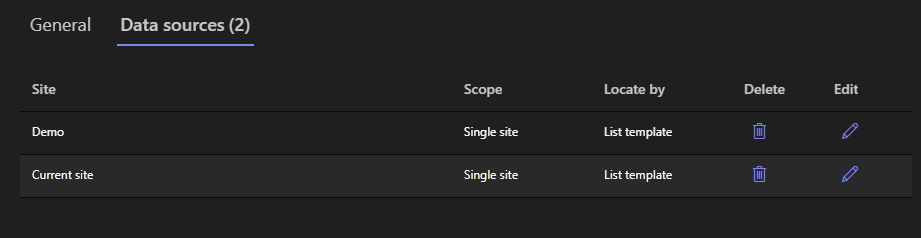
- Select to locate records by base type (as defined by template in step 4), list template, or specific lists (for single site only)
- If you are rolling up a single site, you can manually select which lists and libraries to include. This is not available for rolling up subsites or collections.

- Click Save data source to add the data source, then Save to save the rollup profile.

Part 2: Adding the rollup part to a web part page
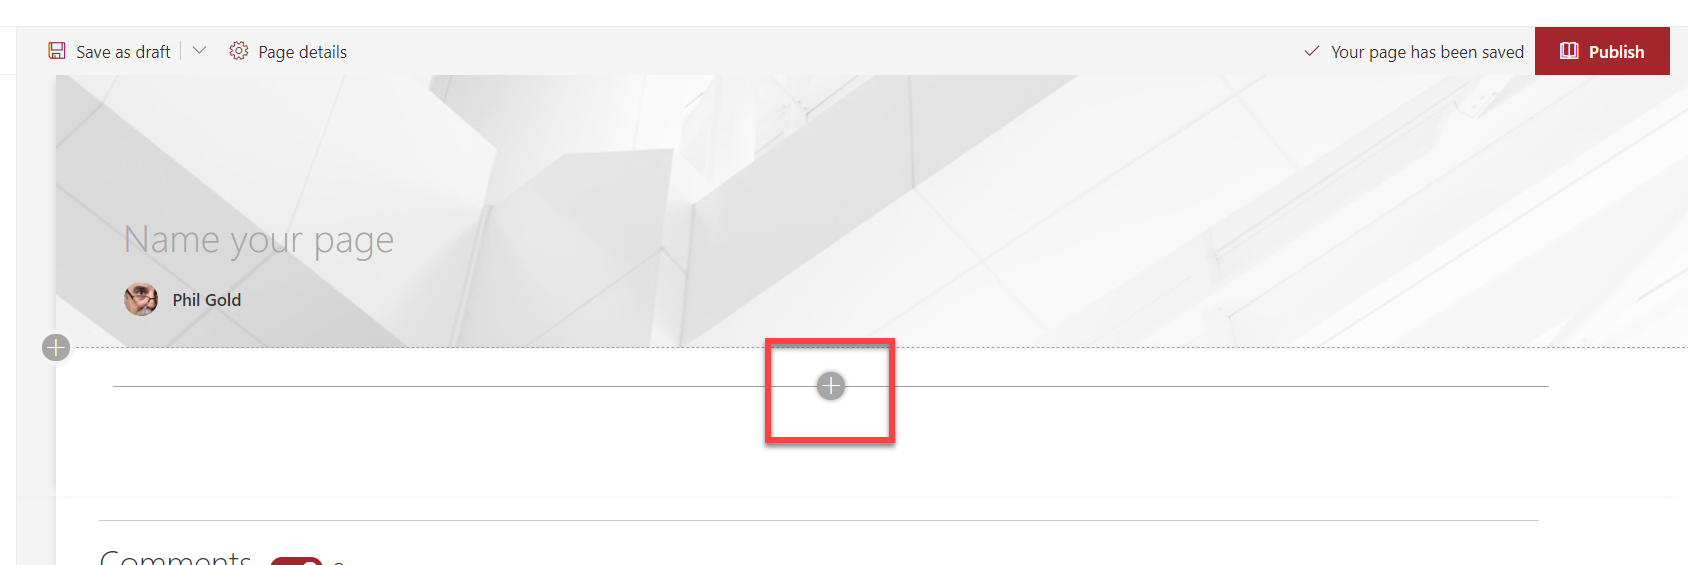
- Switch your web part page into Edit mode, then click the + symbol to add a new web part.
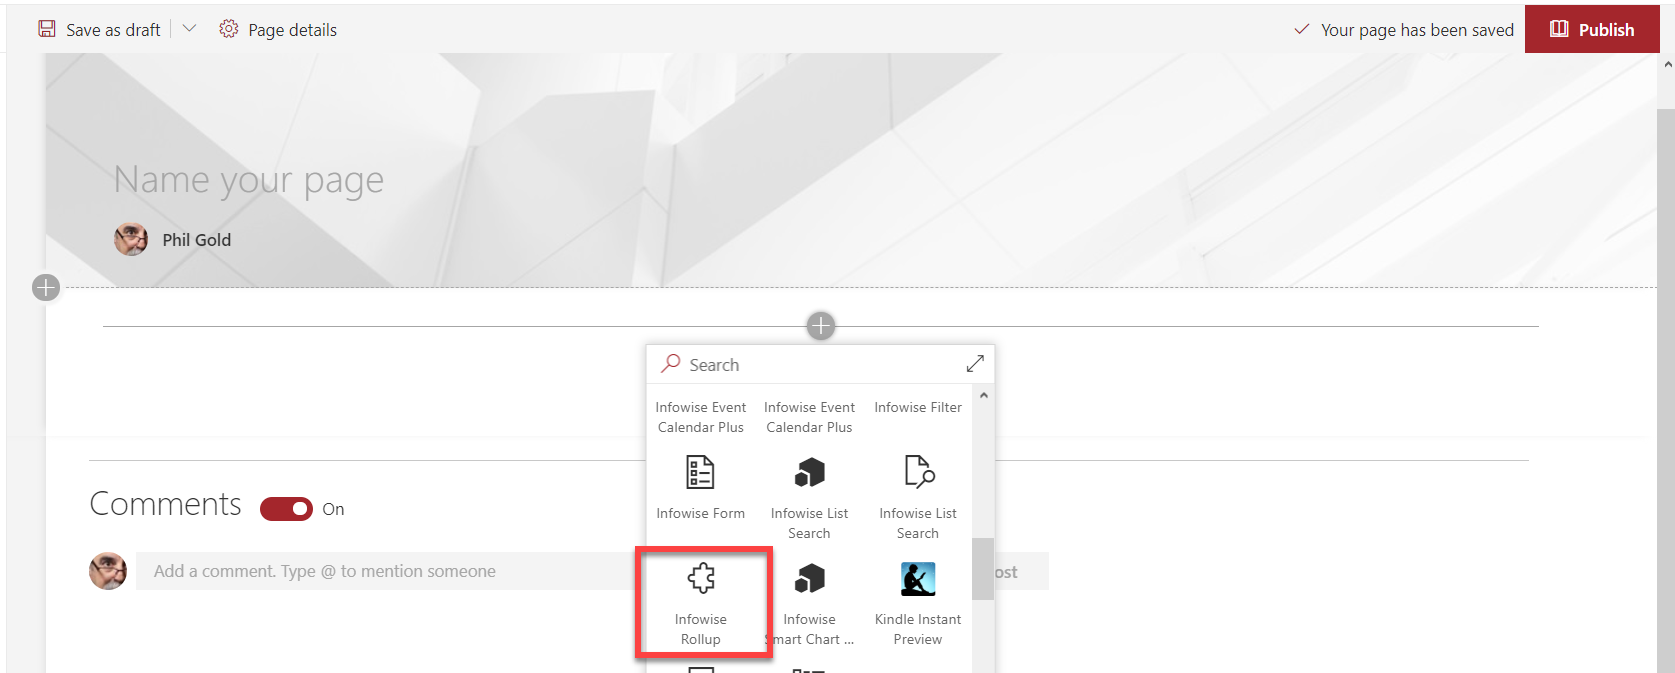
- Select Infowise Rollup from the list of available parts.
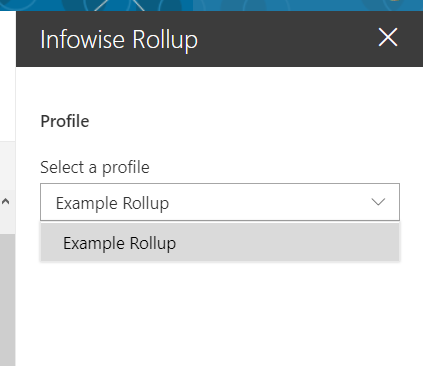
- click the small Edit icon on the left of the new region.

- Select the Rollup you created from the list.
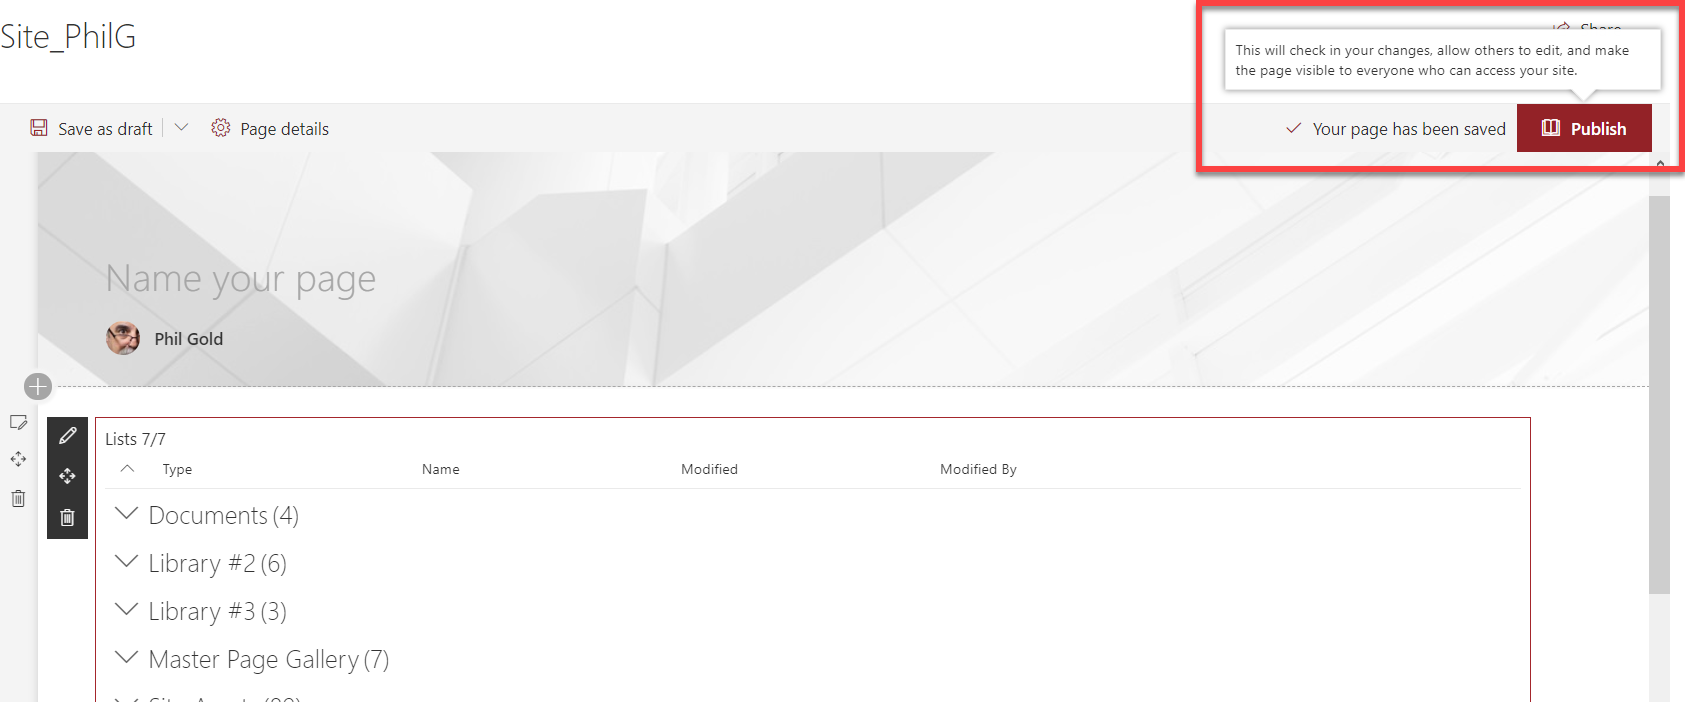
- The Rollup part will now be on the page. The page saves autimatically, but will not be visible to others until you Publish it.
For additional information about defining data sources and the on-premise version of Rollups, please check the documentation online.
Summary
The Rollup feature provides the ability display items from multiple lists or document libraries in one place. It provides a functional unified view that allows you to work with data spread out throughout your tenant in one location.