Introduction
Great looking, smart and functional SharePoint forms are our bread and butter here at Infowise. Our product, Ultimate Forms, helps you easily create forms to replace the built-in SharePoint forms, without limitations or complexities that Microsoft Forms or Power Apps entail.
Normally, when you publish a form with our Form Designer, it simply replaces the built-in form. So next time you click on New in the list toolbar, it will open our form instead. This is great and is obviously the most common way of working with custom SharePoint forms.
There are however cases in which you want to place the form outside of the list/document library. Maybe you want to place a form on the homepage of the site or even on a page inside Microsoft Teams. Ultimate Forms helps you do just that without any fuss!
SharePoint Pages
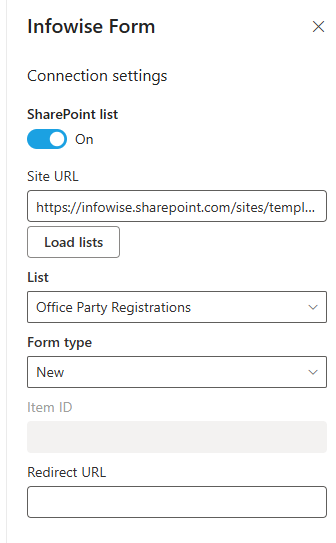
The fastest and easiest way of implementing the form web part is placing it on a page. Locate and select Infowise Form web part and place it on your page. Now you just need to tell it what list to display the form for.

First, switch the web part mode to SharePoint List. The default will be Data Connections, we will talk about those later in this article.
In the web part properties, you can select any list in any site collection. By default, the site URL is empty and the list selector is populated with lists of the current site (the site where the web part page is found). But you can provide any site URL from your tenant. Just make sure your future users have access to it.
Once you've selected the list, select the form type. Normally it will be New, but you can also use Display and Edit forms. Just don't forget to specify the item ID of the item you want to display/edit.
Finally, you can optionally specify the Redirect URL. This is where your users will be taken after submitting the form. It can be any page, no special requirements here.
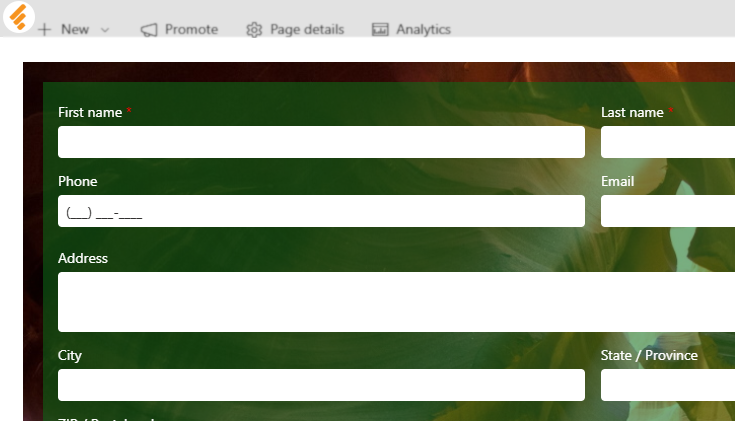
Once you publish the SharePoint page, you will see the form right away.

Note that you can even select a list that doesn't have a form published in Form Designer. It will work, the web part will just generate a simple form at runtime. But of course, you get much more control by actually designing and publishing your own form.
Microsoft Teams
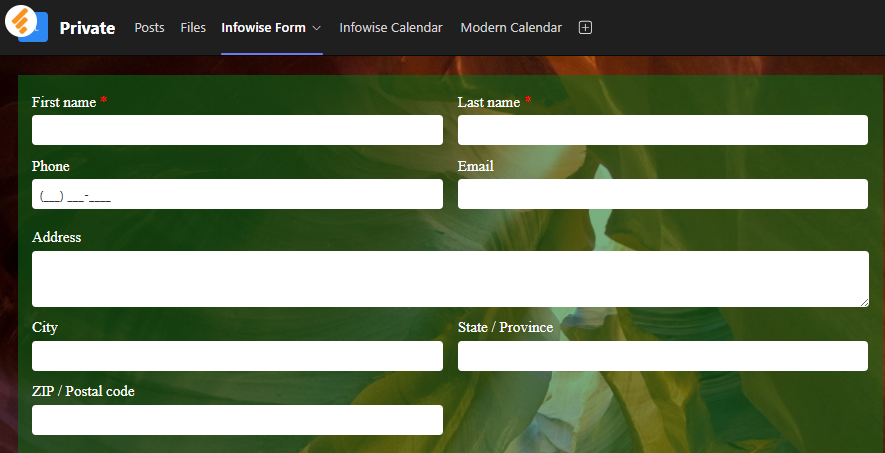
Placing a custom SharePoint form in Microsoft Teams is easy and the process is almost identical. Create a page in your team and place the Infowise Form web part. The only difference is that the Site URL value is now required, as there is no current SharePoint site to assume.

The form will look and work in the same way as it does in SharePoint.
Data Connections
Data connections help you integrate 3rd party data sources inside SharePoint, so you can view, add and edit information stored outside of SharePoint in much the same way as you would information in SharePoint lists. This functionality is currently available in the SharePoint Online version of Ultimate Forms only.
There are many connection sources to choose from (and additional ones will be added in the future):
- SharePoint - will normally be used when you need to provide some sort of access to a SharePoint list users would not normally have access to. It could be for example a list in a completely different tenant.
- Salesforce - any Salesforce object can be accessed
- Zendesk (beta) - connect to your Zendesk environment
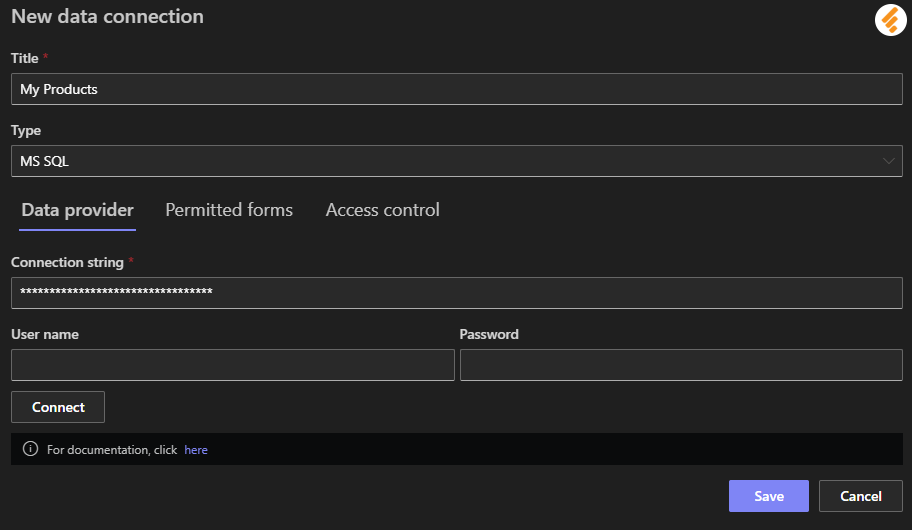
- Microsoft SQL Server - both Azure and on-premises servers can be used (you might need to adjust your firewall settings for that)
- Oracle
- MySql
- SOAP
- REST API
- Document - data can be submitted into a document of various formats (CSV, TSV, Microsoft Word or Microsoft Excel) and uploaded to various locations:
- SharePoint/OneDrive
- FTP
- Google Drive
- Dropbox
- Box
- Email - form data is emailed to a recipient without being stored anywhere

Under Access Control tab, add the page URL you are going to place the web part on to allow connections from that location. You can even use a wildcard character * to specify any URL. Ensure that the necessary form type is allowed for access, such as New.
Once you create your new data connection, design and publish a form for it. You can do it directly from the Data connections page of Ultimate Forms.
You should make a note of the connection ID. That value needs to be entered into the form web part properties. Once you're ready, publish. Now you can host a web part in SharePoint and Microsoft Teams to work with data stored in a data connection.
Summary
Infowise Form web part adds another level of flexibility for working with data stored in SharePoint list or in a variety of 3rd party application in a way that is both simple and highly customizable to your needs.
