Introduction
As you know, documents can be stored in SharePoint in two ways:
- In SharePoint document libraries
- As SharePoint list item attachments
Each of these approaches has its own pros and cons. For example, documents in document libraries can have versions and metadata. In contrast, a list item internally contains the SharePoint attachments and only displays them in its context. Attachments have no versions and no additional metadata.
Infowise Ultimate Forms already gives you two additional capabilities, Associated Documents and Document Link columns types.
The first one allows you to show documents in a document library within the parent list item. The column basically performs a query by parent on the document library and displays the matching items.
The second one allows you to link and uploads documents through a list item. The column stores links to the documents. The advantage of this approach is that you can link the same document from various list items. You do not need to create duplicate versions of the same document.
In both cases, we will store the documents in a document library. So you can take advantage of metadata, custom forms and version history.
The Business Need
In some cases, you want to be able to convert your existing documents. For example, you might want to promote attachments to a document library. Or you might choose to copy/move documents from a document library and create list item attachments from them. Until now it was not an easy task, basically requiring manual download and upload of documents.
With the new Manage attachments action type, it's now super easy! Let's briefly describe what capabilities this action type offers.
Copy/move attachment to document library
You take your list item attachments and copy them to the specified SharePoint document library. You can take all of them or filter by file name and/or size.
You can place them in the root or in a specific folder. The action will also automatically create a folder when needed. You can also specify any additional metadata based on the list item properties. Optionally, you can also link the documents to a Document Link column within the item.
Copy/move from document library
You specify query conditions and then copy/move those found documents into attachments.
Delete attachments
Delete all or filtered attachments from the list item.
Example of Usage
I would like to illustrate it better with a simple example. We will be selecting all the attachments with the word "instructions" in their name. Then we will be promoting them to be documents in a document library. In doing so, we will be:
- Specifying the target folder
- Setting some metadata
- And even linking those documents, in their new location, back to the item using Document Link column.
Whenever someone creates or update a list item with matching attachments, the action will trigger. First, it will select the attachments with the suitable names. After that it will create a folder in the document library and place the former attachment document there. For each it will set the metadata according to the configuration.
Next, the action will remove the attachments from the list item. And finally, it will update the value of the Document Link column with links to the new documents. The whole process will only take a few seconds and will take place with no user intervention.
We will start with creating a new action.
- Choose Manage attachments as your action type and enter some meaningful action name.
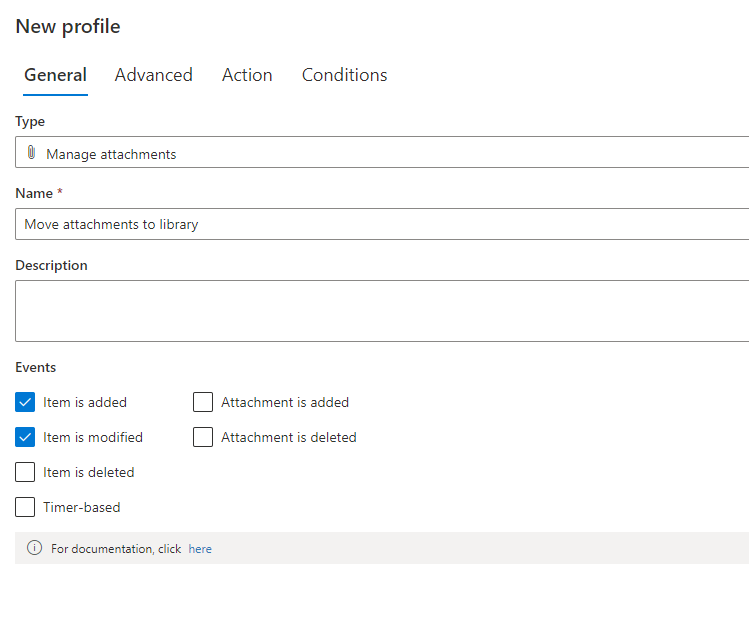
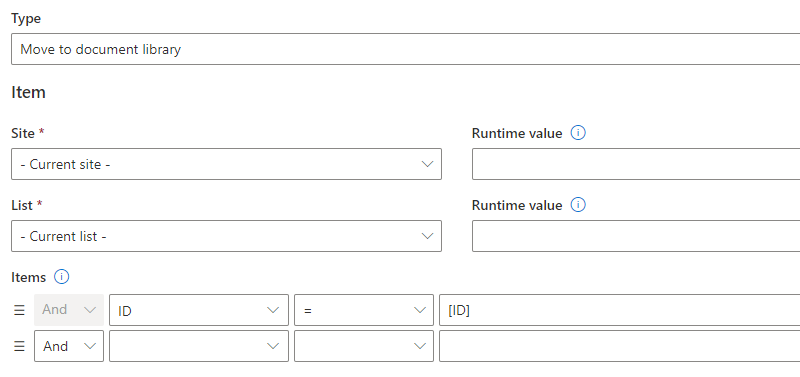
- Next, we need to select what list items we want the action to execute on. By default, it will already select the current item (the one on which the action runs) by specifying ID=[ID]. You can however affect any number of items in any site:
- Next, optionally specify filters based on attachment file name and size:

- Now we need to specify the target document library. You can select a document library located on any site. You can even specify dynamic runtime site URL and library name:
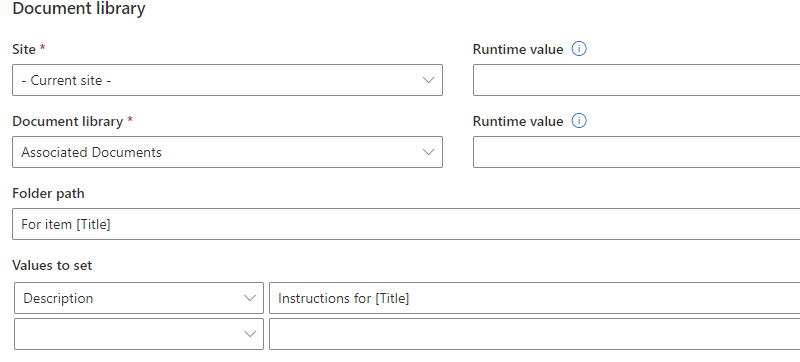
- Optionally set the folder path (from the root of the library) and map any metadata you want to set. In our case, we are setting the document description and folder, specified based on the list item title. Which means that for each item will create a unique folder. The name of the folder will include the title of the item.
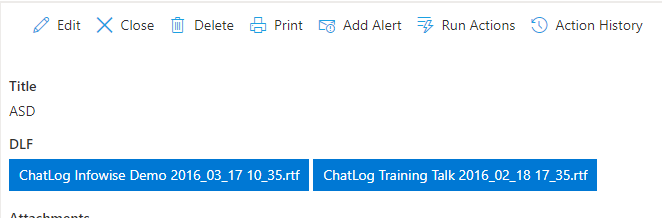
- I will be using a Document Link column here that I named DLF. Promoted documents' links will be automatically stored here so you can easily access them from the list item:

- And this is how it will appear in the list item. Note that I didn't actually filter the attachments by name when running my example for the sake of simplicity.
Conclusion
As you can see from my example above, the action type is easy to work with, yet it is an incredibly powerful tool!
One possible usage could be in conjunction with Import. You can create an import profile on document library. By default, we will only take the first document from the email.
There might be cases when your emails contain multiple attachments. And you want each to become a document in your document library.
You can set up your import on a list (not document library). Then add a Manage Attachments action to run on New. The action will then move list item attachments to the document library, each one will become a separate document!
Add your comment
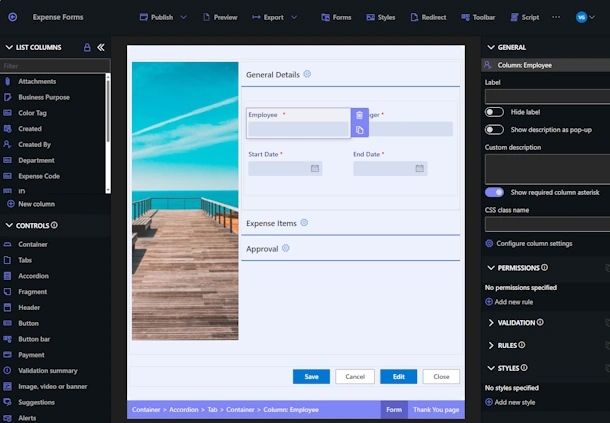
Flexible Forms
Convenient responsive modern forms, featuring tabs, section and column permissions, dynamic rules, repeating sections, electronic signatures and input validation, while keeping all your data safely inside SharePoint.
Smart dynamic SharePoint forms provide an exceptional user experience, improve data quality and simplify business processes, saving you valuable resources.
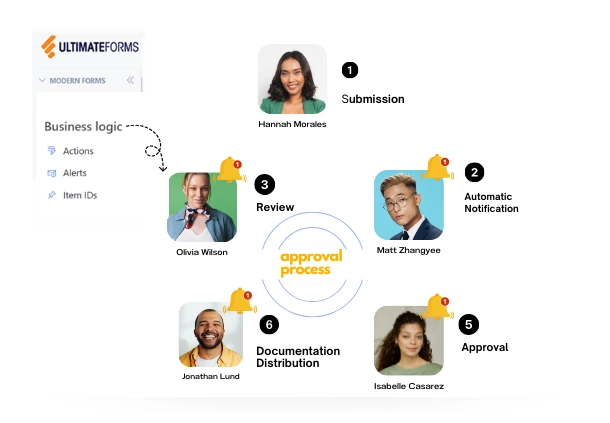
Intuitive Automation
Replace complex SharePoint and Power Automate workflows with simple, but versatile Actions to create and update data inside SharePoint and in a variety of integrated applications, such as Exchange, MS SQL, Teams and many more.
By reducing the learning curve, you empower more people in your organization to create and manage business solutions, successfully removing bottlenecks.
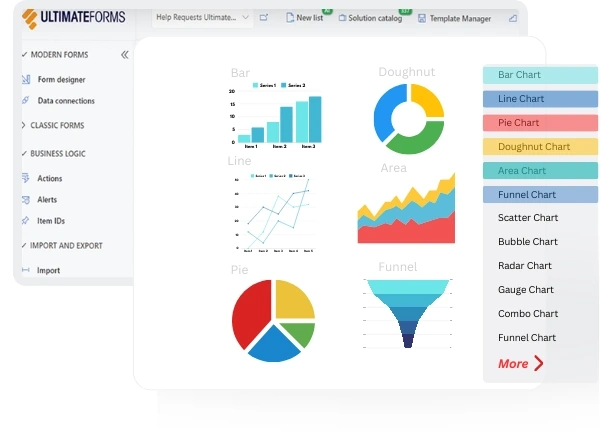
Clear Reporting
Present data as actionable insights with detailed shareable reports, dashboards, KPIs, calendars and charts.
Everyone is able to visualize information in an accessible fashion, improving responsiveness and accountability.
100’s of Templates