Hello,
If you keep track of our product line, you are probably aware that we offer a suite of 18 of our forms-oriented products, called the Ultimate Forms. The suite allows you to build complex business processes in SharePoint using just your browser. Such features as different tabs for different stages of the process, simplified data entry and relationships between items, to name but a few, turn any regular SharePoint list into a complete data management system.
We've created a business process for demo purposes, called Bug Tracker. In this process, an employee can track bugs by entering an item in list describing the bug and it's related project and module, can assign multiple tasks related to the bug and can track tasks related to the resolution to the bug from eith the list or the home page. Watch the video now to see how it works:
1. Install the products included in the Ultimate Forms. You can get a full-featured 30-day trial version here.
2. Create a blank site.
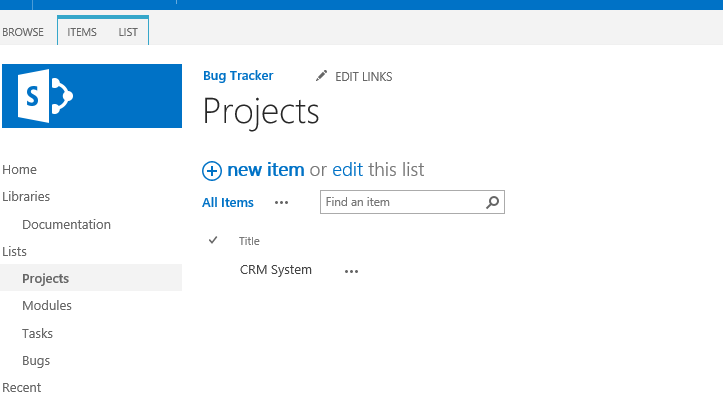
3. Create a custom list named Projects. It will hold the types of vehicles you can order. You do not need to add any columns, the built-in Title column will suffice.
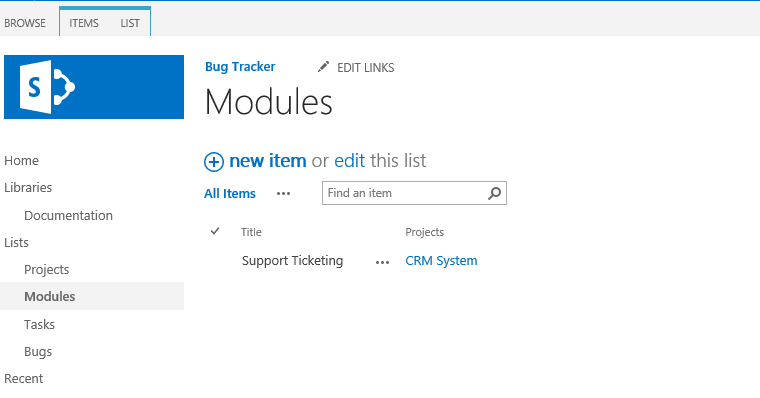
4. Create a custom list named Modules. Add a lookup column, named Projects, pointing to the Projects list. You can use the regular lookup field or our Connected Field, which will give you the option of adding new projects directly from the Modules list, in the midst of adding a new project. This is really cool, as if your project is not in the list, you do not need to leave your entry form in the middle to go and add it to another list.
5. Create a task list for bug-related tasks. We will use the Associated Tasks content type and call the list Tasks, no need to change any of the default settings.
6. Create a document library for related documents. Call it Documentation, Add a lookup column, named Projects, pointing to the Projects list. Then add a lookup column, named Modules, pointing to the Modules list.
7. Now we come to the main list of our system, the one that will store and manage the reservations themselves. Create a custom list called Bugs.
8. These are the columns we need to include in the list. I will explain the settings for our custom fields in more details.
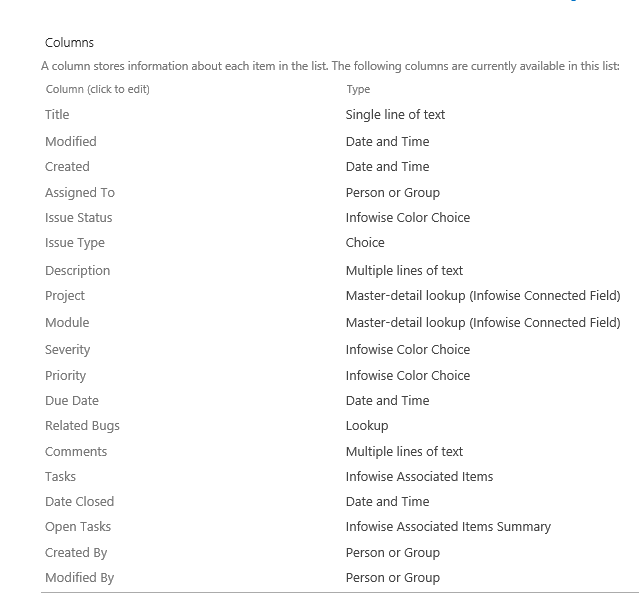
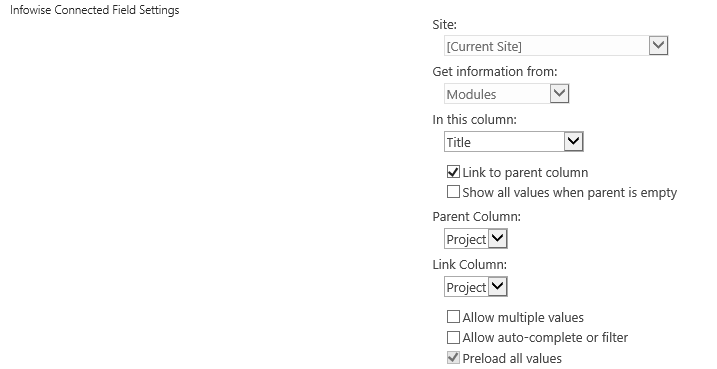
9. Module column is a Connected Field master-detail column, meaning that the Modules list in the column is filtered according to the value selected in the Project column. First we tell the column what list to take the values from and which column to show, so far it is almost identical to how the regular lookup field works. Now we tell it to link to parent, specifying the parent lookup column in the current list AND the link column, which is the lookup column in the Modules list pointing to the Projects list, we called it Projects, remember?
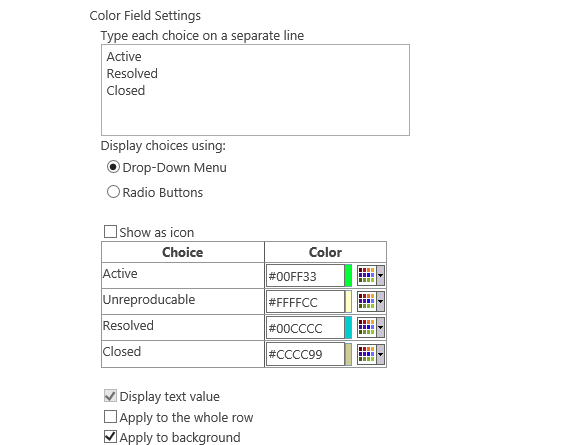
10. Our Issue Status column is also responsible for color-coding the Issues, we are using our Color Choice Field, which is similar to the regular choice field, but also allows you to specify a different color for each option. When included in a view, it highlights the column or whole row in the color of the selected value. The same is done for our Priority & Severity columns
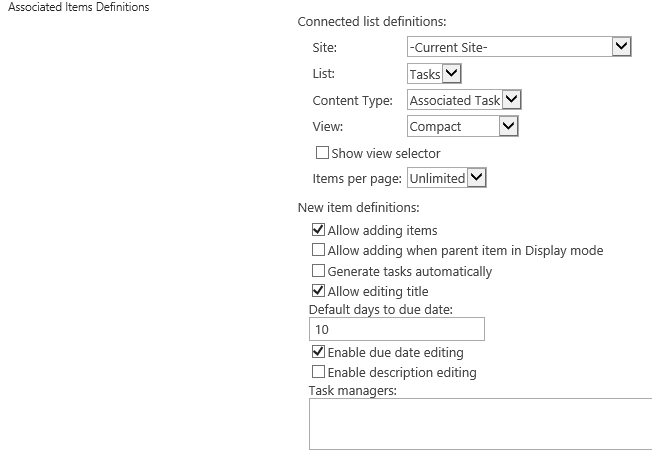
11. We permit the employee to enter multiple tasks for each bug for including and tracking specific requests pertaining to that bug. We are using our Associated Tasks Field, which can create and manage related tasks. We've already created a list for storing the associated tasks. Now we add the field that will allow users to enter and track the tasks in the context of a reservation. Once we've added the field, most of the settings are defined automatically, once you select Tasks as your source list. Note that the Source view selector specifies what view to use as a template for the view in the field. That is how you specify which fields to show.
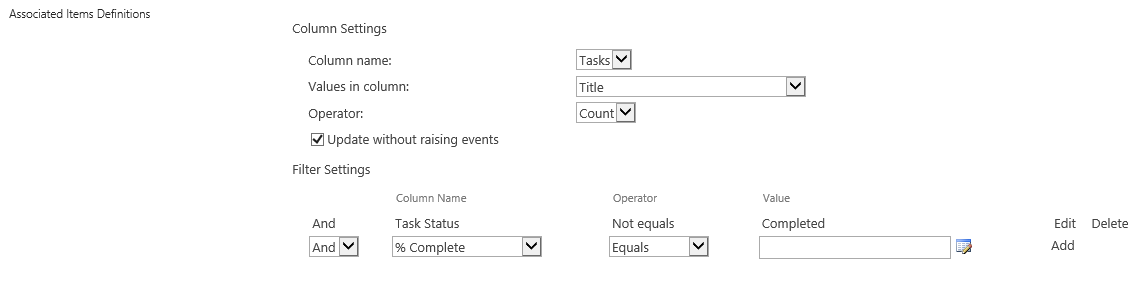
12. The Open Tasks column keeps a summary count of tasks related to the bug that are open or incomplete using our Associated Tasks Summary Field. Once tasks that are created through the bug UI are completed the Open Tasks list is updated automatically.
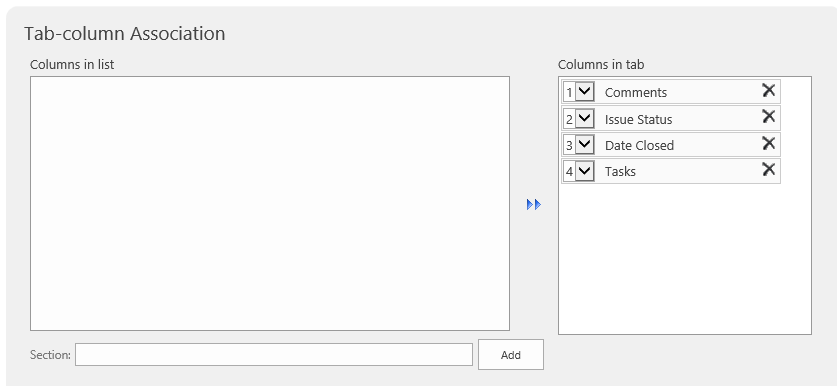
13. Now we are done defining our columns Now we define the different tabs that will make up the process. Smart List Pro is the product responsible for that. Generally, each stage of the process gets a separate tab and we can define permissions based on those tabs, which is the fastest way. First, we enter the tab name, General, then we select the columns and their order. In this solution we do not require any tab permissions.
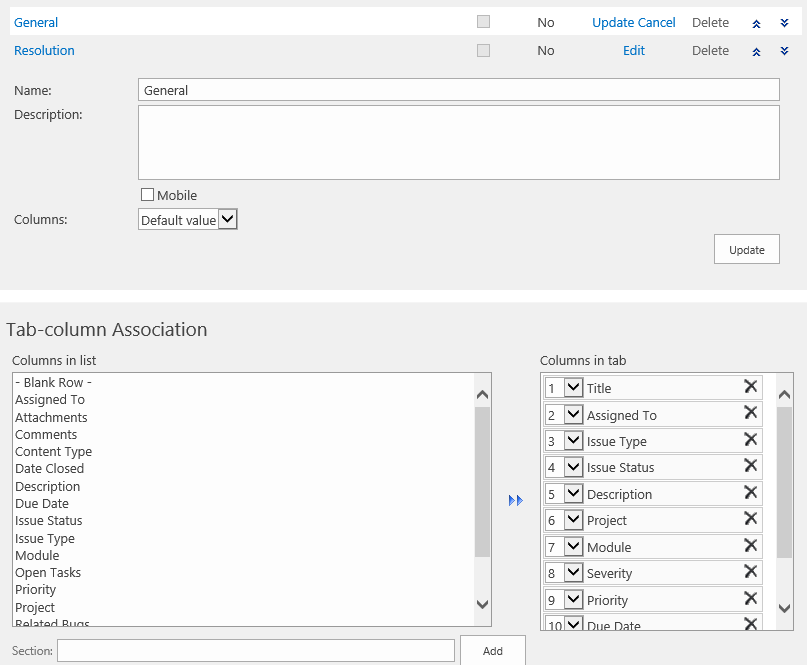
14. Next create a second tab, select their columns and their order. We don’t need any tab permissions on this tab as well.
Now we can create a process home page that can double is an easy access dashboard.
15. From the home page, enter edit mode and remove any existing web parts on the page.
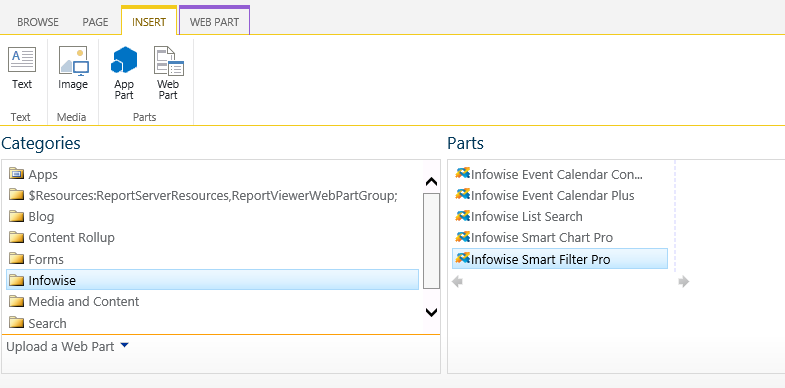
16. From the Insert tab, insert the Infowise Smart Filter Pro web part.
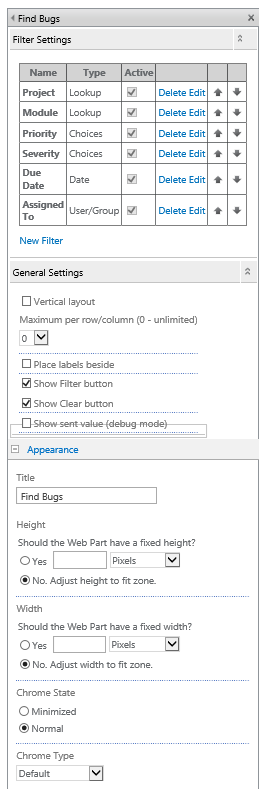
17. From the web part properties, add the filter rules and name. Then click apply and save.
18. Next from the web part drop down, select ‘Connections’, then select ‘Send Smart Filter Pro to’ and then select Bugs’

19. Beneath the Smart Filter Pro web part, insert Bugs list view web part.
20. Beneath the Bugs list view web part, insert Tasks list view web part.
This is basically it, the process is ready for testing. We used no custom development, we did not even open up SharePoint Designer. The whole thing can be done in both 2007 – 2013 & O365 versions, using the same tools. One last thing you might want to do is to define a dashboard as the system's Welcome page, using OOTB list view web parts. Isn't it really easy and fun?
Add your comment
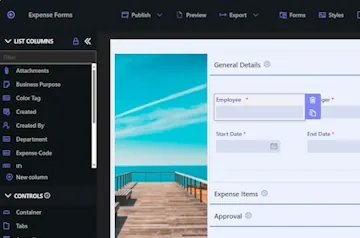
Flexible Forms
Convenient responsive modern forms, featuring tabs, section and column permissions, dynamic rules, repeating sections, electronic signatures and input validation, while keeping all your data safely inside SharePoint.
Smart dynamic SharePoint forms provide an exceptional user experience, improve data quality and simplify business processes, saving you valuable resources.
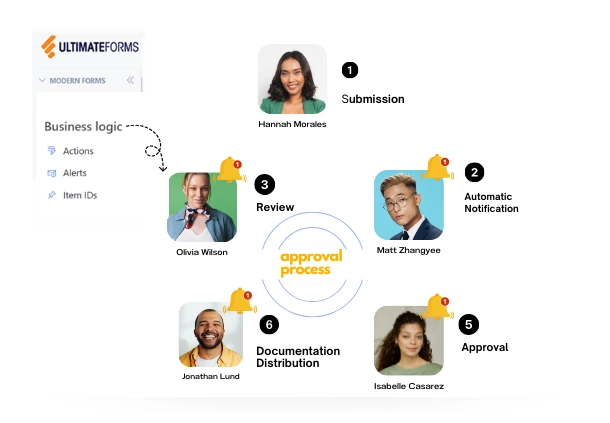
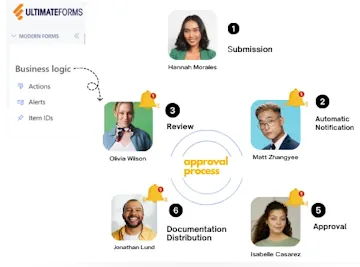
Intuitive Automation
Replace complex SharePoint and Power Automate workflows with simple, but versatile Actions to create and update data inside SharePoint and in a variety of integrated applications, such as Exchange, MS SQL, Teams and many more.
By reducing the learning curve, you empower more people in your organization to create and manage business solutions, successfully removing bottlenecks.
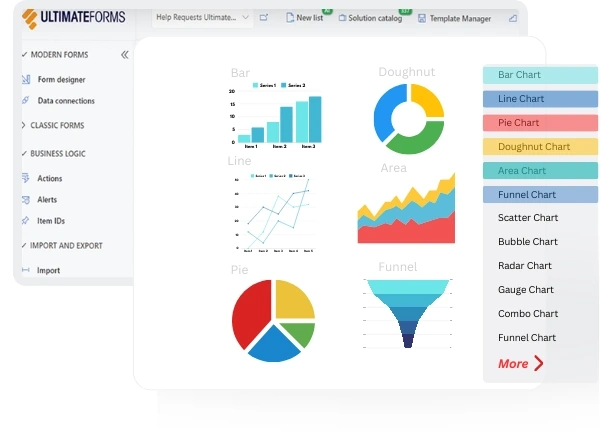
Clear Reporting
Present data as actionable insights with detailed shareable reports, dashboards, KPIs, calendars and charts.
Everyone is able to visualize information in an accessible fashion, improving responsiveness and accountability.
100’s of Templates