Will Cooper
Will Cooper
September 09, 2024

Microsoft Word print templates are an easy and flexible way to design print templates in Ultimate Forms. In general, you can design your Word document any way that you want then reference the fields using double square brackets like this: [[Field Name]] If you have never used a Word print template, you should first get started by following the steps shown in this article: Setting Up a Word Template

Note that you use a Word document to create your print template, but the output can be either PDF or Word document. In most cases, PDF output is most desirable.

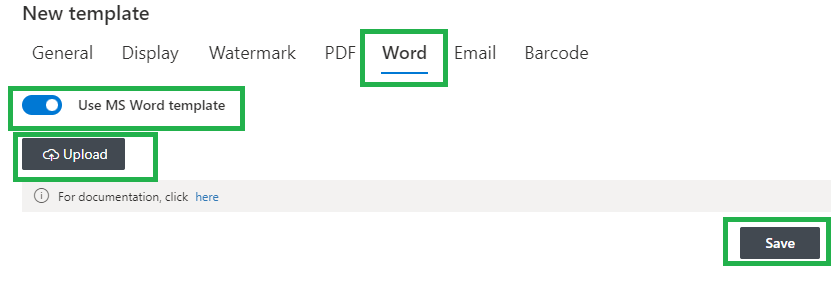
When creating a print template, pick the Word tab, select "Use MS Word template", upload your Word doc then click Save:

The key to great looking Word print templates is using table layouts. That's what we'll focus on in this article.

Here is an example of a timesheet print template layout:

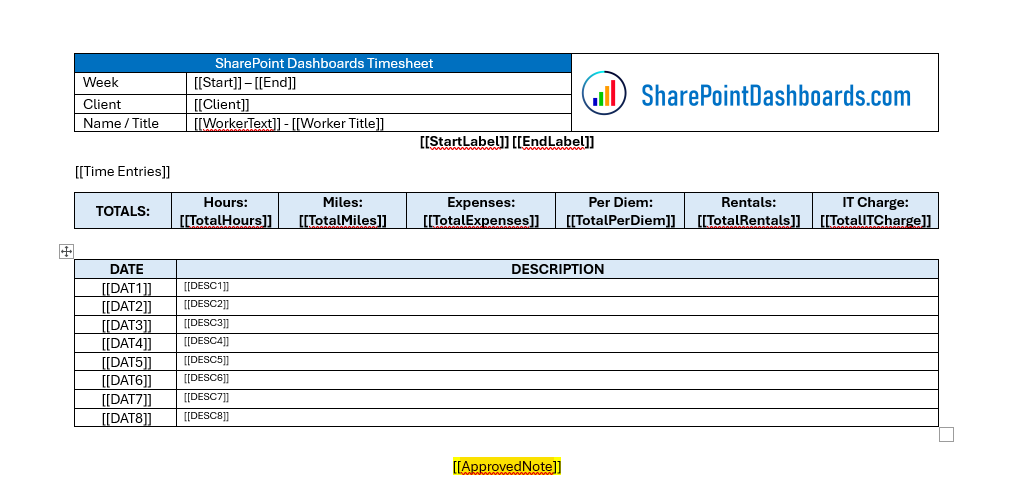
Our content from the SharePoint list will drop nicely into each of the areas referenced in double square brackets. The content will match the font size and styling used in our print templates. (Use a smaller font size when you have a lot of text!)

When laying out forms, we use multiple columns. This same concept applies when building print templates. We should use tables to organize and align our content.

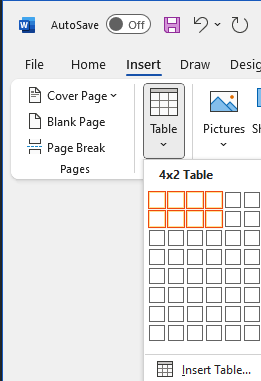
Begin by inserting a table as shown:

Once your table is inserted into the document, there are many table design options available. Here are some pointers on the key settings that you should use:

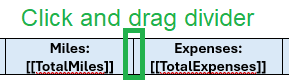
  • Adjust column widths by hovering over the column divider and dragging.

  • Use the Table Design tab to access multiple table settings including colors, background shading and borders. (Note that you can turn off borders if you don't want to see the grid around your content. In other words, even when you don't want to see a grid, tables should be used to align your content.)

  • Use the Table Layout settings to insert more cells, align content, merge cells, split cells and apply many more table settings. (Note that you can align content both horizontally and vertically.)

  • You may also right-click a table cell, then select Table Properties to open up table settings options.

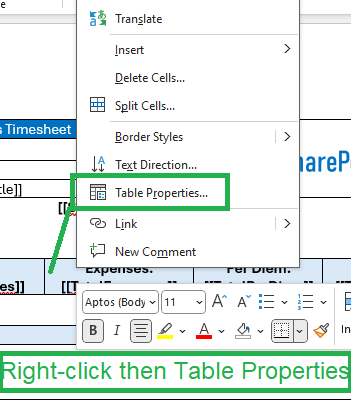
This opens a tabbed interface with a comprehensive set of table settings from which to choose.

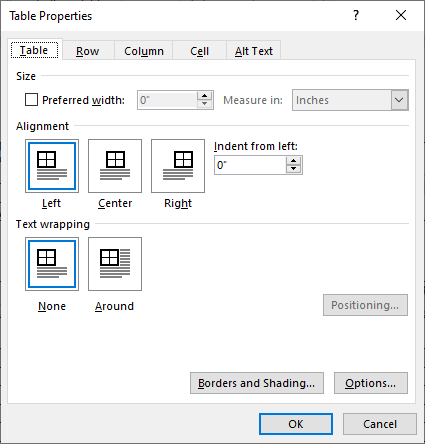
There are quite a lot of options to choose from. Notice that you can choose whether to apply settiing to the table, the row, the column or the cell. Select the tab which pertains to the scope of settings which you would like to apply. In most cases you only need adjust a few settings to get the layout that you want.

In takes some practice to get acclimated to all of the options, but with some exerience you will find that using Microsoft Word tables is the key to building advanced Word print templates. Make sure to insert tables into your Word document as a first step when you begin each new print template.

Loading...

Add your comment

Comments are not meant for support. If you experiencing an issue, please open a support request.
Build powerful business applications in SharePoint using only your browser.
100% No-Code Solution
It’s never been easier to create, innovate, and share. All you need is your web browser!
Cost-Effective
Address business process pain points immediately. Save time and money.
Fantastic Support Team
In addition to our responsive support team, a wide variety of resources, documentations, tutorials, blogs and webinars is available to you
WELCOME TO THE FUTURE
New faster ways for creating business solutions
ULTIMATEforms is a platform that enables everyone to easily create and maintain Microsoft SharePoint-based business solutions without a single line of code
Simple and Intuitive
Streamline form creation with smart, user-friendly tools
Deploy smart dynamic forms that adapt to your business needs
Utilize a drag-and-drop interface for effortless form design
Experience rapid form customization with intuitive editing tools
Accelerate project timelines with user-friendly, immediate solutions
Powerful Automation
Enhance operational efficiency and compliance
Streamline complex workflows into straightforward actions
Quickly establish compliant business processes
Seamlessly integrate data from diverse applications
Access and combine information easily for better decision-making
Comprehensive Reporting
Transform data into actionable insights
Generate detailed reports and dashboards for informed decision-making
Customize alerts and notifications to stay updated
Print and export data to PDF, Excel, or Word for easy sharing
Visualize data with color-coded calendars and intuitive dashboards
100’s of Templates
Streamline form creation with smart, user-friendly tools
Access hundreds of customizable templates for every business function
Install easily with one-time set-up; free for ULTIMATEFORMS customers
Replicate entire sites with settings between site collections and tenants using Template Manager
Jumpstart projects with pre-built solutions from our growing catalog, applied with a click
Dive deeper
Watch a short introductory video showcasing the different unique capabilities of UltimateForms.
Ready to get started?
Hands-on training is the best way to get proficient. That's why we've created three unique training offerings which will help you master ULTIMATEFORMS. Our interactive sessions are delivered via web meetings and conducted within personal virtual workspaces.
100% No-Code Solution
It’s never been easier to create, innovate, and share. All you need is your web browser!
Cost-Effective
Address business process pain points immediately. Save time and money.
Fantastic Support Team
In addition to our responsive support team, a wide variety of resources, documentations, tutorials, blogs and webinars is available to you
Microsoft partner logo GSA Schedule
© 2005-2024 Infowise Solutions Ltd. All rights reserved.
Privacy | Accessibility | Cloud SLA