
SOP(Standard Operating Procedure): An SOP is a procedure specific to your operation that describes the activities necessary to complete tasks in accordance with industry regulations or even just your own standards for running your business.
If you are new to Infowise Ultimate Forms, then install Infowise Ultimate Forms trial and try out the new features in SharePoint Online (Microsoft 365).
Step 1: I have created SharePoint Document Library known as “SOP”. It has a few columns as shown below.
Important: I have created “Read and Sign ” column and Add it to “Tabs and Tab permission” (Create a new Tab) in “Infowise Ultimate forms“. I Explained this at “Step 5″.
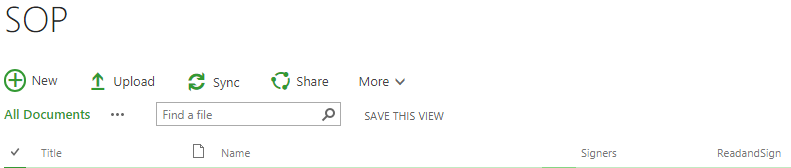
Read and Sign document in info wise for Microsoft 365
Step 2: I have created a task list Known as ” Signing Tasks” with few columns as shown below.
Important: I have created “Signature” column and Add it to “Tabs and Tab permission” (Create a new tab) in “Infowise Ultimate forms”. I Explained this at “Step 7″.
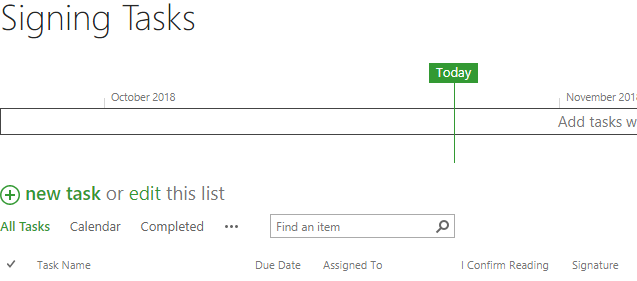
Read & Sign document infowise ultimate forms for Microsoft 365
Step 3: “Allow the management Content-Types” in your tasks list as shown below.
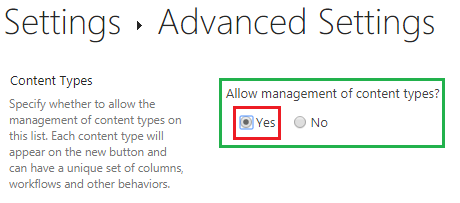
Infowise SOP Read and Sign for Microsoft 365
Step 4: Go to the List tab->click on list Settings->Scroll down to Content-Type-> click on “Add from existing site content types“.
Now select “Infowise” content type from the drop-down then it will show content types what it has. Select “Infowise Associated Task” from the content types, then click on “Add ” as shown below.
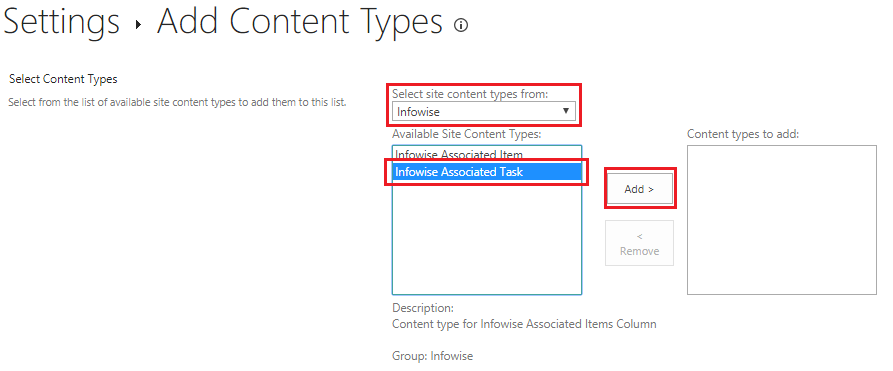
Infowise Electronic Signature field for office365
Step 5: Now Coming back to our “SOP” library, create the column “Read and sign” column and associate with “Infowise Associated Task” Content type as shown below.
Open your SharePoint Document Library (SOP) in Infowise Ultimate forms.
- Go to Library tab-> click on “Design” button, it will open Infowise Ultimate forms.
- Next, Go to “Configure Columns“-> click on “Associated Items“.
- Enter Column name “ReadandSign” as shown below.
- In General-Settings, Create new: ReadandDesign.
- In Associated Items Settings, Child Site: current site, Child list: Signing tasks(your tasks list), Child Content-Type: Infowise Associated Task etc. Select as shown below.
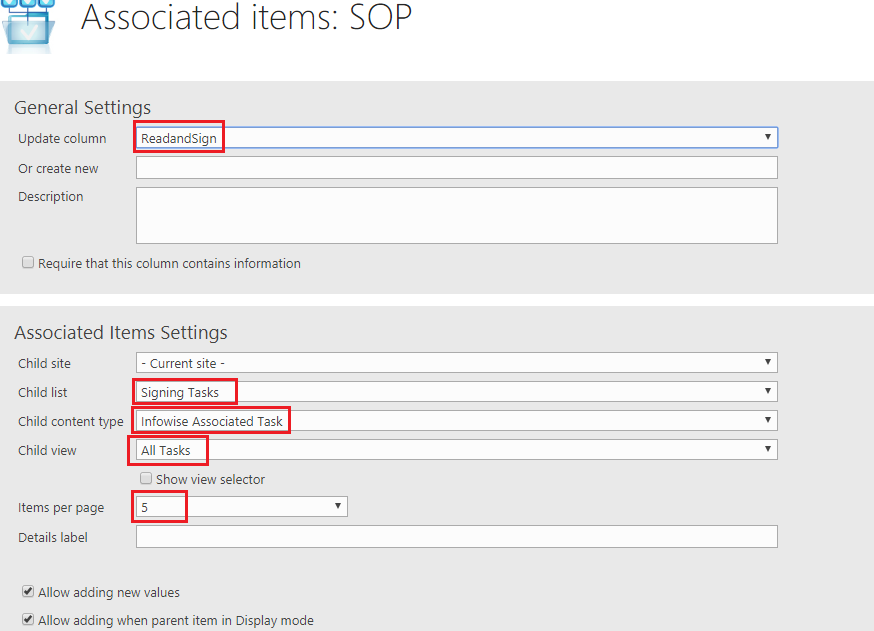
using electronic signature in infowise for Microsoft 365 in SharePoint online
Step 6: Create Infowise Ultimate Tab for the Sharepoint Document library.
- Go to “Configuration layouts and Permissions” ->click on “Tabs and tab Permissions”.
- Here you can create tab and Add columns to the tab as shown below.
Note: See below screenshot our new column “Read and sign” is added in “Tab-Column Association”.
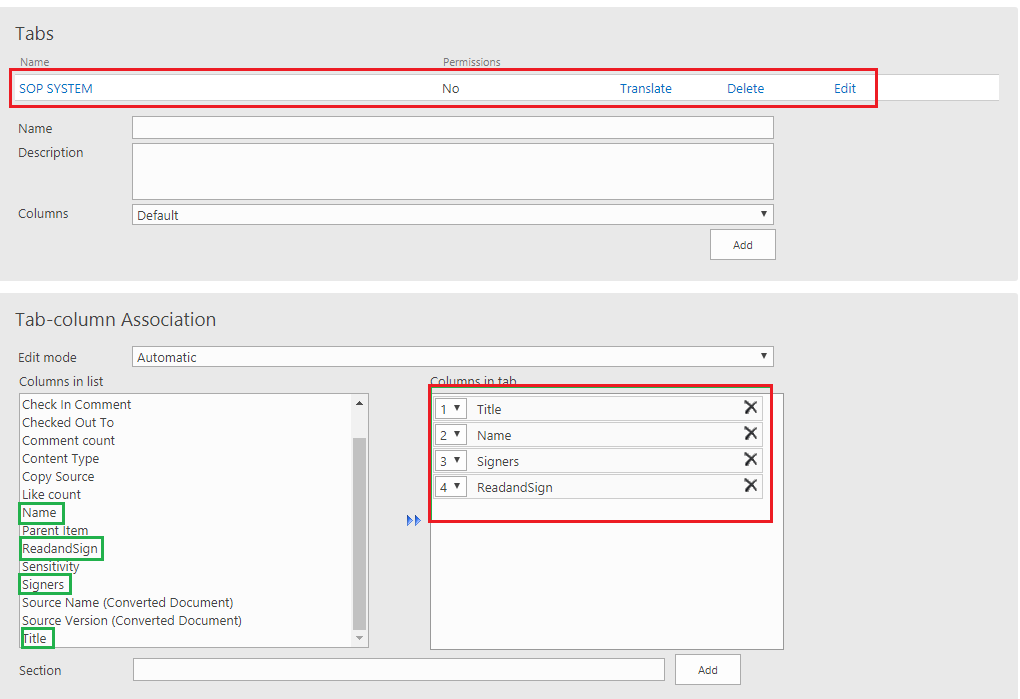
Read & Sign document infowise ultimate forms for Microsoft 365
Step 7: Now Coming back to our “Signing Tasks” SharePoint List, create the column “Signature” in Infowise Ultimate forms as shown below.
Open your SharePoint Task List (Signing Tasks) in Infowise Ultimate forms.
- Go to Library tab-> click on “Design” button, it will open Infowise Ultimate forms.
- Next, Go to “Configure Columns“-> click on “Signature“.
- Enter Column name “Signature” as shown below.
- In General-Settings, Create new: Signature.
- In Signature Settings, check the checkboxes (Select coulmns as your needs).
- Select Signature type as Declarative from the drop-down as shown below.
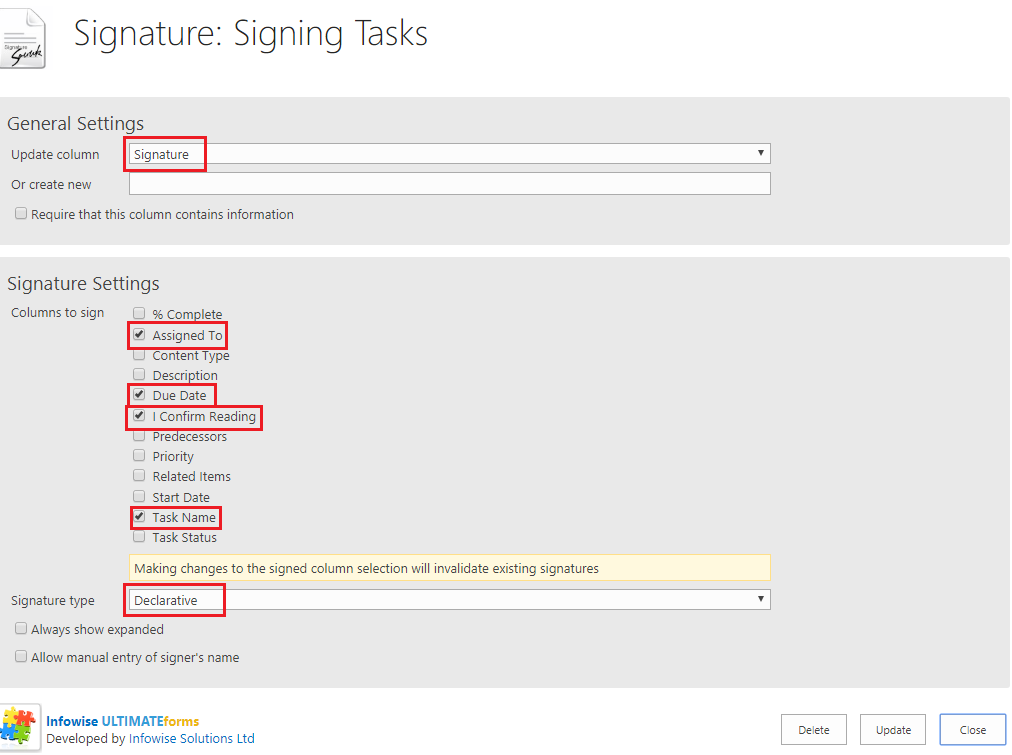
Read & Sign document infowise ultimate forms for Microsoft 365
Step 8: Create Infowise Ultimate Tab for the Sharepoint Task List(Signing Tasks).
- Go to “Configuration layouts and Permissions” ->click on “Tabs and tab Permissions”.
- Here you can create tab and Add columns to the tab as shown below.
Note: See below screenshot our new column “Signature” is added in “Tab-Column Association”.
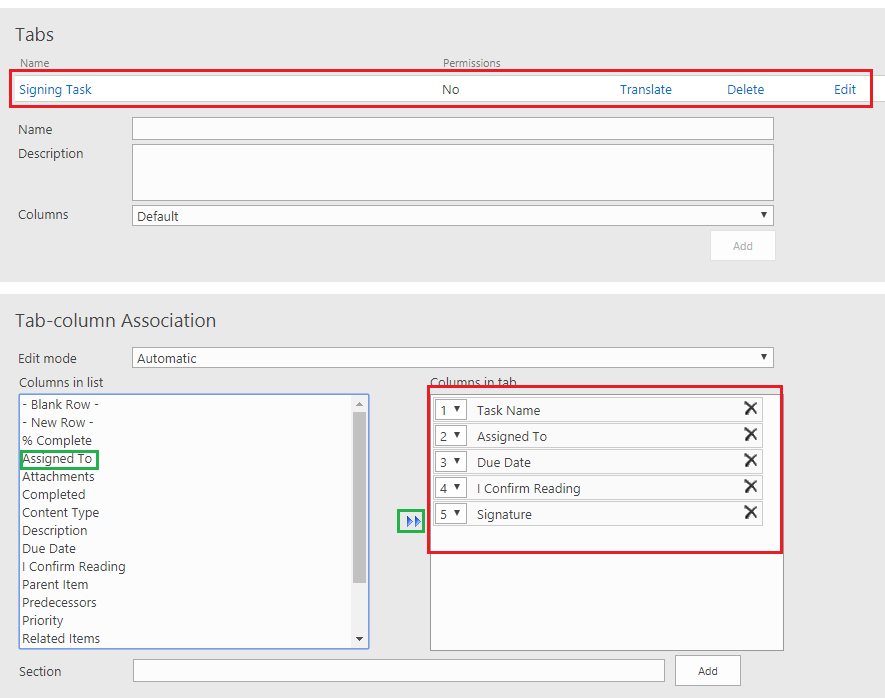
Infowise Electronic Signature field for Microsoft 365
You can also try a few Infowise Ultimate Form examples below:
- Update Field Value without using Workflow by using Infowise Update Action
- Infowise Actions vs SharePoint workflows
- Easily Configure Email Notifications using Infowise Ultimate Forms action
- Infowise Actions vs SharePoint workflows: Copy List Item easily using Infowise Action SharePoint Online
- Infowise Actions Vs SharePoint Workflow: Automate Site Creation process Infowise Ultimate Forms Create a Site Action in SharePoint
- ITSupport Ticketing System using Infowise Ultimate Forms
- Create Collapsible tabs and All Columns tab using Infowise Ultimate Forms in SharePoint Online Microsoft 365
In the next article, we will discuss more on how to read and sign a document using Infowise Ultimate Forms in Microsoft 365 SharePoint Online.
Read and Sign documents using Infowise Ultimate Forms in SharePoint Online Part-2