Dear Readers, how have you been? It's almost a week since I started my digital transformation
journey with Infowise Ultimate forms, I am happy to report that it is progressing so well.
Our team is adapting to the new way of working, and we are excited about the possibilities
that Infowise Ultimate Forms offer us.
Recap: how it all started
Last week, I created a document repository to add all the documents and segregate them into
various categories. Infowise made this process easy by creating a beautiful form where users can
easily update their documents and categories.
Read more about it here.

The next steps
I started by creating the most used processes with a list of available forms from the document repository.
First on my agenda is an Account statement request process that many people will find themselves
asking for before long- after all,
they'll need one eventually!
Account statement request process
An account statement request is a formal document that an individual or organization submits to their bank
to request a copy of their account statement. The account statement will show all transactions that have occurred
in the account over a specified period.
The process for requesting an account statement is usually relatively simple and can be done over the phone
or in person at a bank branch. In most cases, you will need to fill out a short form or make a request with
a customer service representative.
Once the request is processed, the statement will be mailed or delivered electronically to the account holder.
The account holder can then review the information and look for any discrepancies.
The account holder can contact their bank to resolve the issue if any unusual activity is found.
Current Process
When a customer requests an official bank statement, the front desk officer shares this form with them and helps fill it out.
The filled-in paper copy is then circulated to two different levels for review before being sent to your local branch office for processing!
The issue that we faced included:
- Missing information: The customer might forget some important information
- Error while entering the details: The customer might enter the wrong information by mistake
- Lost forms: The front desk office might lose the filled-in request
My Digital Transformation plan
To fix these issues, I started with a plan.
- We can create a form online that is easy to fill and add validation, so you don't have to worry about manual requests!
- Create automated emails as well as approval processes for your customers for they receive their requested
information quickly without any hassle - Make sure all responses are replied to automatically through these correspondence channels.
Step 1: Create a Form
I started by creating a form on SharePoint and added the relevant fields.
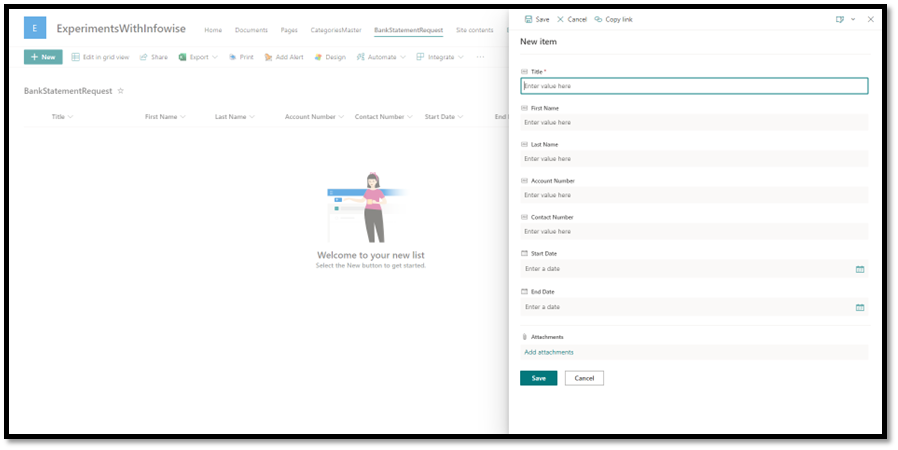
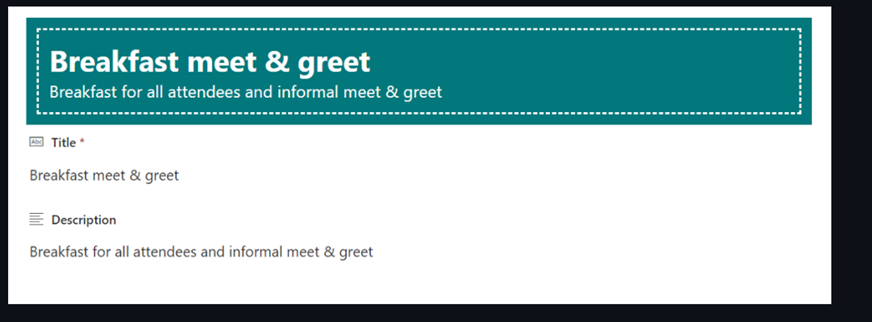
To make my form aesthetically pleasing and user-friendly, I decided that adding some JSON formatting would be a perfect way.
The header looked great, but the options were minimal.
To find a better design, I started exploring Infowise Ultimate Forms. It is straightforward to start;
you can click the design button to open the design studio. You can find more details about how I got started here.
Step 2: Designing the form
Designing the forms on Infowise's design portal was simple and intuitive. I decided to make it as easy for my users,
so they can add information without feeling overwhelmed by all those options available in each field.
This tabbed form made things even better because now people know where their next steps are located!
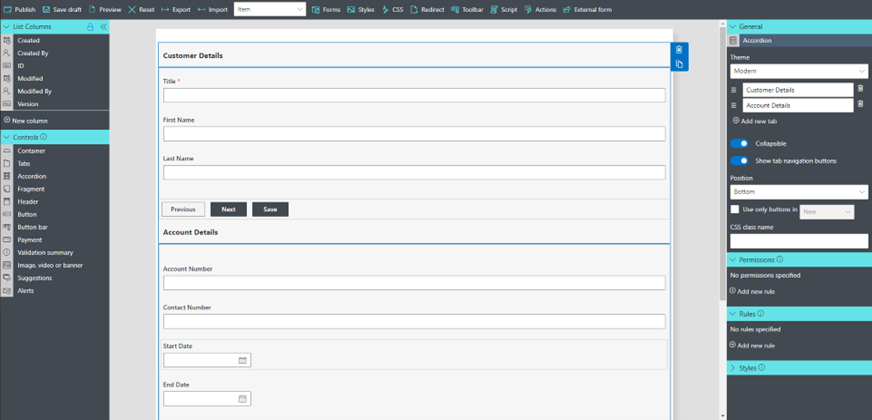
I dragged the accordion control from the left-hand control panel. I was able to add a modern theme.
I quickly renamed my sections as Customer Details and Account details. I was surprised by the number
of options available to customize the form.
I quickly made my form collapsible and added the navigation buttons with a click of a button.
I also had an option to choose where the controls were located. I decided that I wanted them at the bottom.
There is also an option to add a CSS Class to create a custom design for the layout.
I loved how easy it was to customize the form. I also like that I could add permission on the view and add more rules and styles.
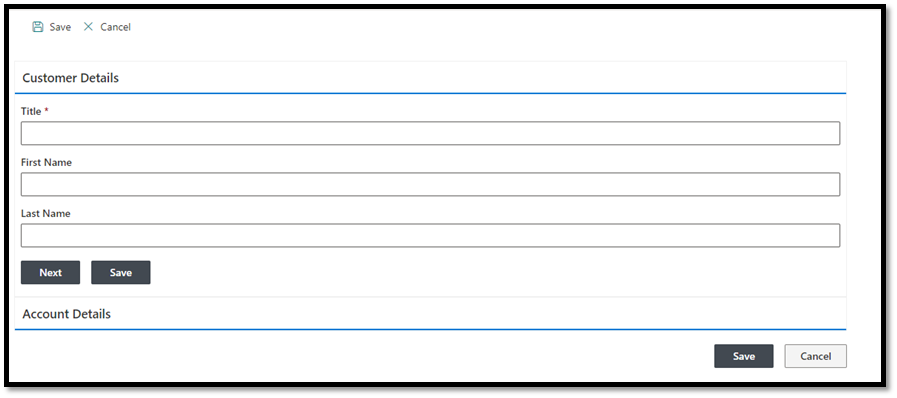
Once I was done, I clicked Publish. This is how my form looked once I updated it in Infowise Ultimate Forms.
Step 3: Adding validation to the form
When I was happy with how my forms looked, it was time to add the next steps.
The most important thing is that we always have values for our fields so they can be filled out correctly
and efficiently without additional work!
I was glad I could easily add validation from the Infowise Ultimate Forms.
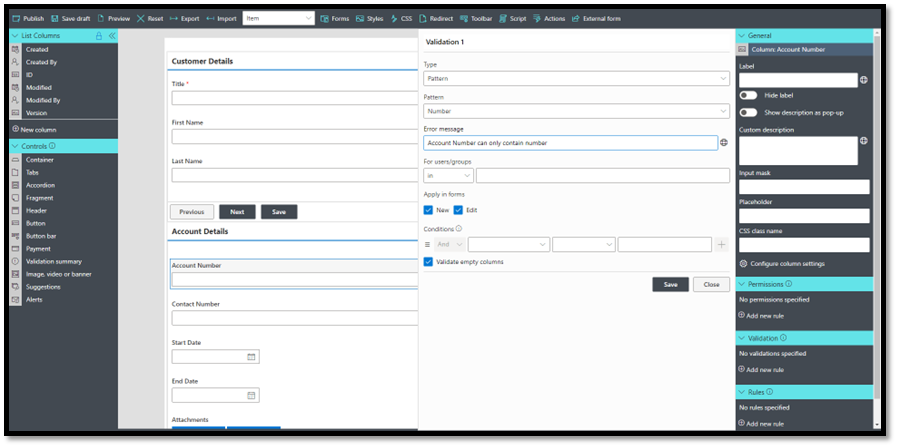
I started by making sure that the account number was Numeric. This validation would mean no one
could enter text instead of a valid account number.
Infowise allows us to choose from some of the predefined patterns to create a quick validation.
I can choose a numeric field or email pattern by selecting the options from the dropdown.
I can also make my pattern to define a complicated condition.
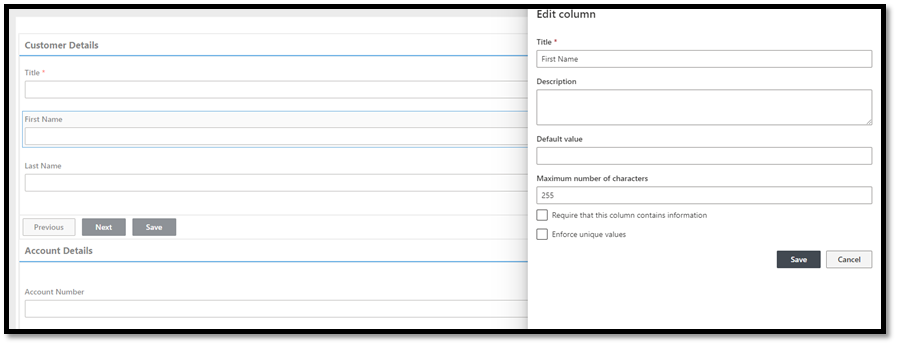
Another benefit is that I can easily change the SharePoint Column settings from the Infowise Forms design page.
I can click on configuration settings and change the default SharePoint list settings.
Finally, I published my forms again.
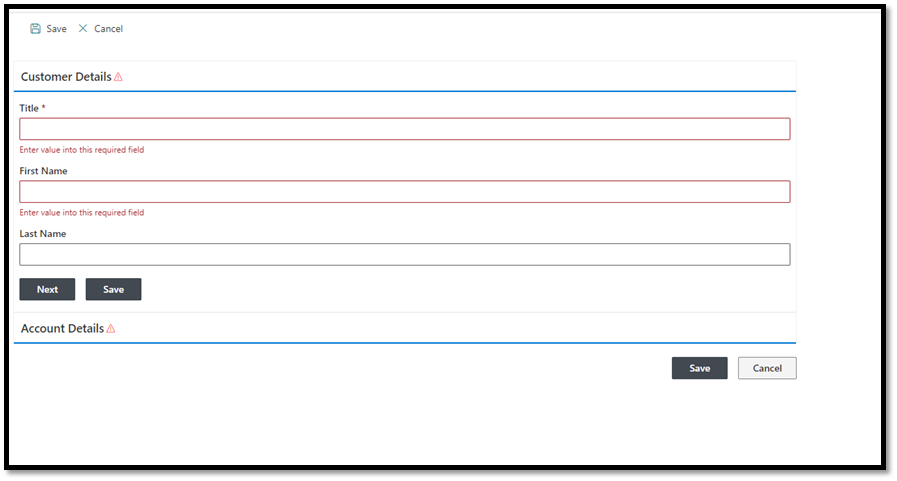
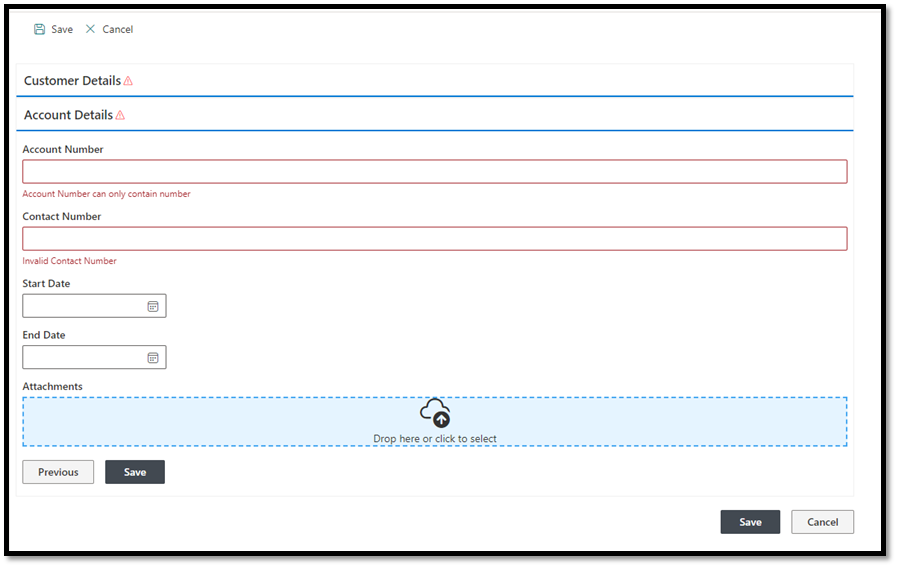
One of the things I enjoy is that I can easily and quickly create forms and track submissions without relying on paper records.
This usage of Infowise forms is a huge time saver for my team and me.
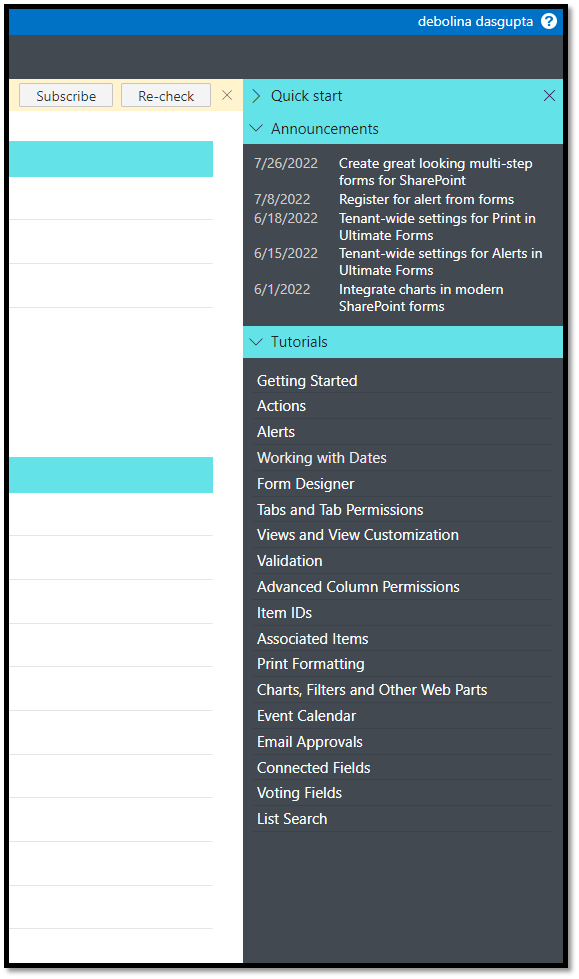
Infowise also has a very detailed library of help files. If you are stuck, you can always find easy-to-follow tutorials.
Infowise Ultimate Forms has helped me a lot in my digital transformation journey, and I am sure it will help you, too, in your journey.
