Adding and Defining a Column
- Create a SharePoint list or documents library and type its name (e.g. Employees).
- Create a new column.
- Fill the column title (e.g. Department).
- Select the type of the column - "Infowise Color Choice".
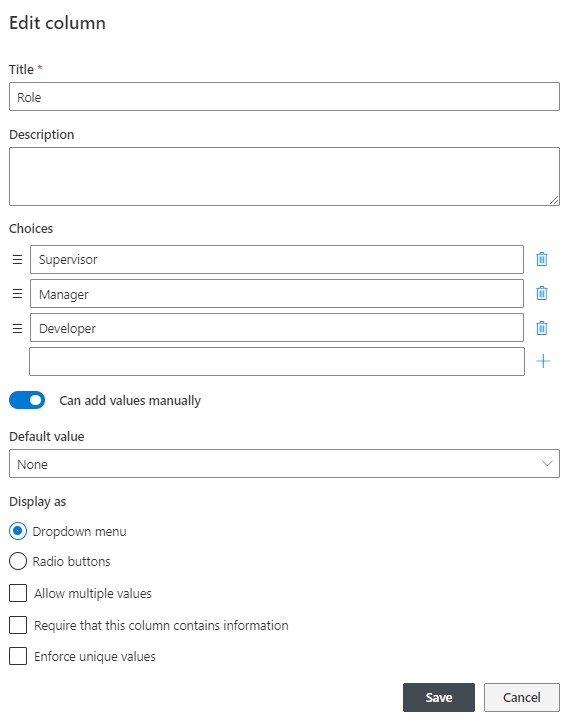
- Type the field choices.
- Specify whether to show color (default) or icons
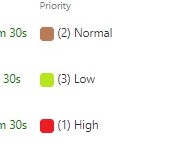
- Set the color of each choice
- Specify whether to apply color to the whole row or just the colulm, and if so apply it to font color or background color.
- If icon selected, choose from the built-in icons or link your own.
- You can also specify whether or not show the text value of the field
- You can also indicate if you want to be able to edit the color choice directly from the list view
- You can add an alternate value to the choice field too.
Field View
- Create a new item in the list / documents library.
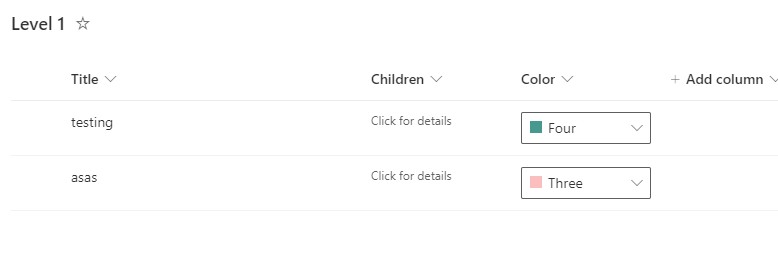
- Select a value in Infowise Color Choice column (Department).
Background color

Icons

Allow updates in views

Conversion
You can convert your Color Choice field to and from any regular Choice field.
To convert to a regular choice field, just enter field settings and click on Convert to Regular Choice Field at the bottom.
To convert from a regular choice field, enter new Color Choice field creation page. Instead of creating a new one, choose an existing Choice field from the drop down box at the bottom and click Convert. You will be transferred to Color Choice field settings page where you can assign color
Adding a Choice with Fill-in values
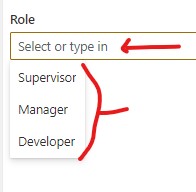
You can add other options by typing your alternate choice for this record. Even if oyu have selected an option you can type-over that with an new option.
Last modified: 4/16/2025 7:21 PM
Loading...
Add your comment
Comments are not meant for support. If you experiencing an issue, please open a support request.
Reply to: from

