This action type allows you to easily automate image manipulation in your lists and document libraries. We support the following operations:
- Resize - change the image to dynamically specified dimensions, optionally preserving proportions
- Crop - cut out the important part out of the image, using dynamically specified position and size
- Rotate - rotate the image using dynamically specified angle
- Flip - flip vertically or horizontally
- Straighten - automatically identify potential vertical lines and rotate the image accordingly
- Adjust - change brightness, contrast and color gamma
- Grayscale - remove color from image
- Sharpen - automatically sharpen the image
- Smoothen - remove small details for a smoother image
- Blur - use Gaussian blur algorithm on the image
- Change background color - automatically detect background and replace it with a provided color
- Watermark - automatically add dynamically specified text inside the image
- Add logo - embed the specified logo image inside the main image
You can run the action on both list item attachments and images in image/document library. The resulting image can then
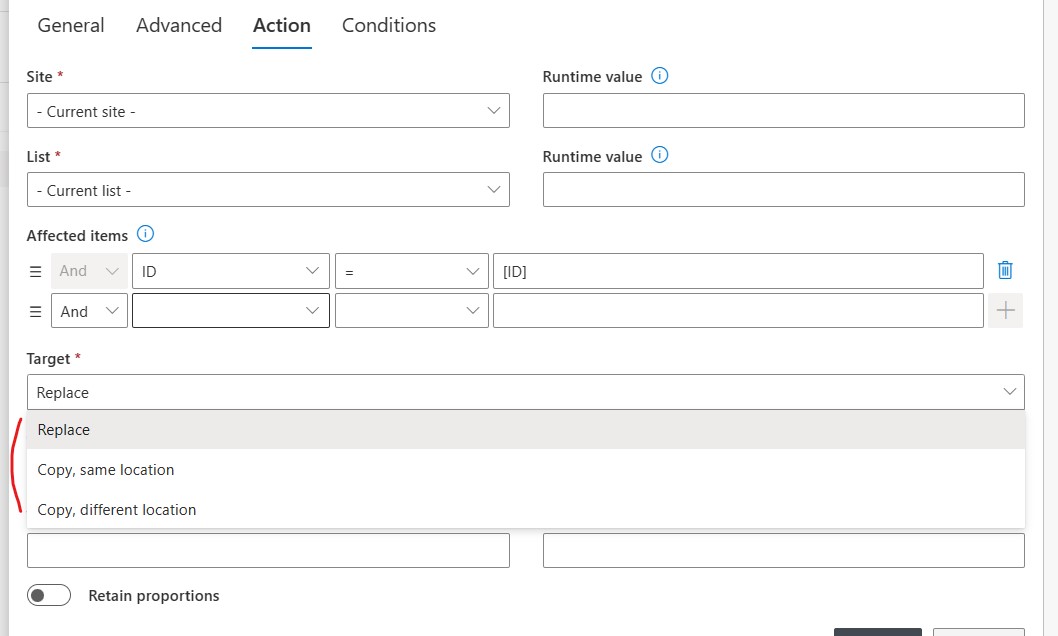
- replace the original
- be placed beside the original
- uploaded to a library of your choosing (including dynamically determined site/list).
Note: The action that is run needs to be run on the image file in the location that the image is found. For instance: Image field images are uploaded normally to the Site assets library under the list guid folder. So to manipulate that image file you need to run the action on that library. Same for images in a multi-line text stored in their own document library.
You can also choose to save the image in a variety of formats, including all major image formats, as well as HTML, PDF, AutoCAD, etc.
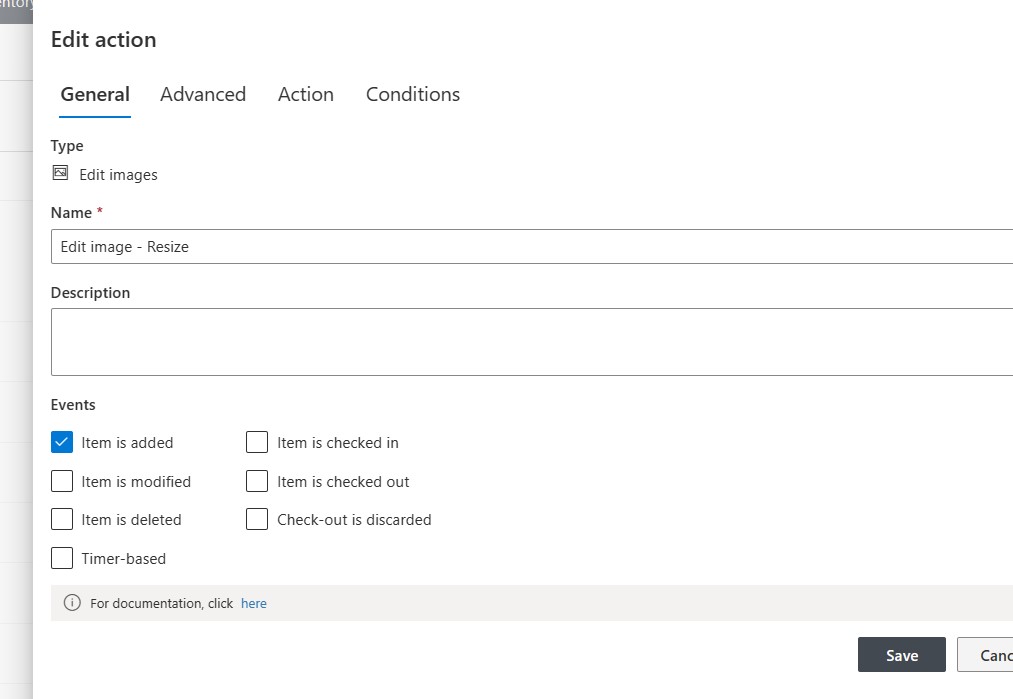
You create this action normally as any other action. Give it a discription and determine if it will run manually or on an event trigger.

Then in the action settings is where you setup how you want to manipultate the image.

-
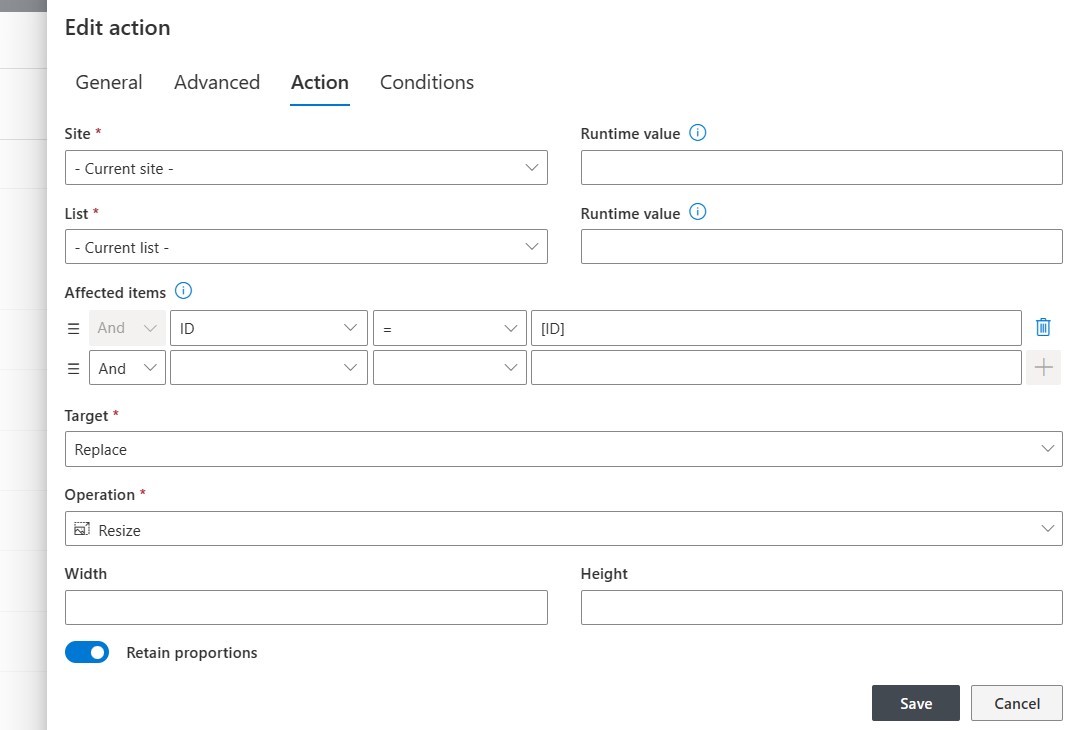
- First of all, under Affected items it says ID=[ID], that makes it run on the current item (the item that triggered the action).
- Then in the action settings is where you setup how you want to manipultate the image.
- Target is set to Replace, the new image will replace the old one.

-
- The type of manipulation you are applying.
- Then based on the manipulation what you are going to do (for this one I want to resize the image)
- Note width and height take a number
- You can also change the format and size of the image.
Save the action.
Upload an image, open its properties and set location. In about a minute the image will be automatically updated to be the size you defined.