Our products are provided with a wizard-based installer with all required files packaged in a self-extracting zip archive. All you need to do is double-click the .exe file you downloaded from our website on one of your front-end servers and follow the instructions of the wizard. In most cases you won't have to change the default settings.
The wizard will run through the following process as it installs Ultimate Forms on your environment. You just need to follow the prompts and click “Next”;
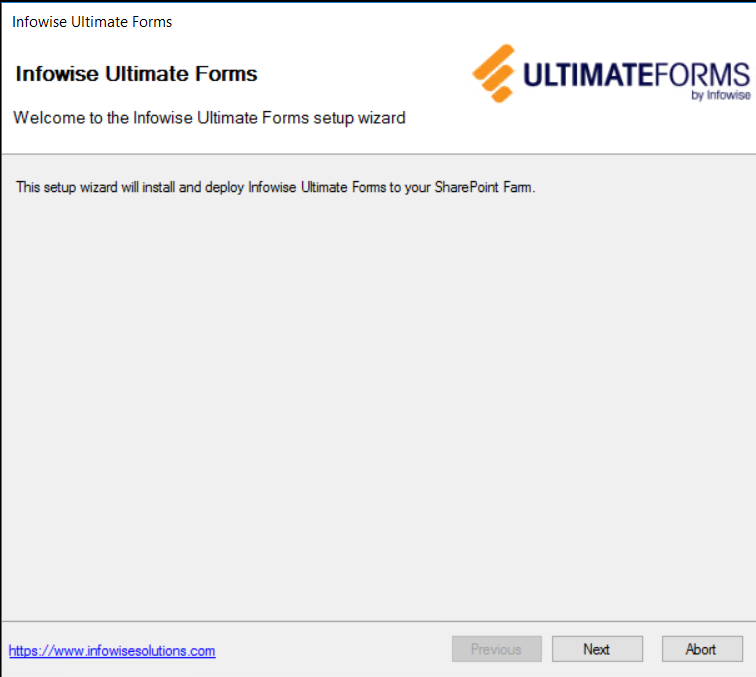
- Welcome - welcome screen.
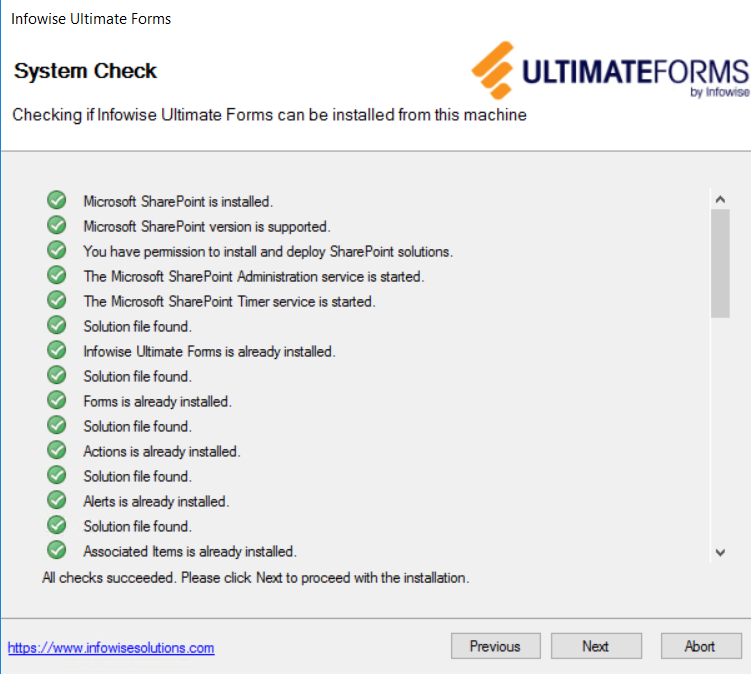
- Checks - checks the prerequisites and permissions and establishes if it's possible to proceed with installation.
- Features selection – which components are to be included in the installation and which will be removed. Components that do not have a valid license will be greyed out.
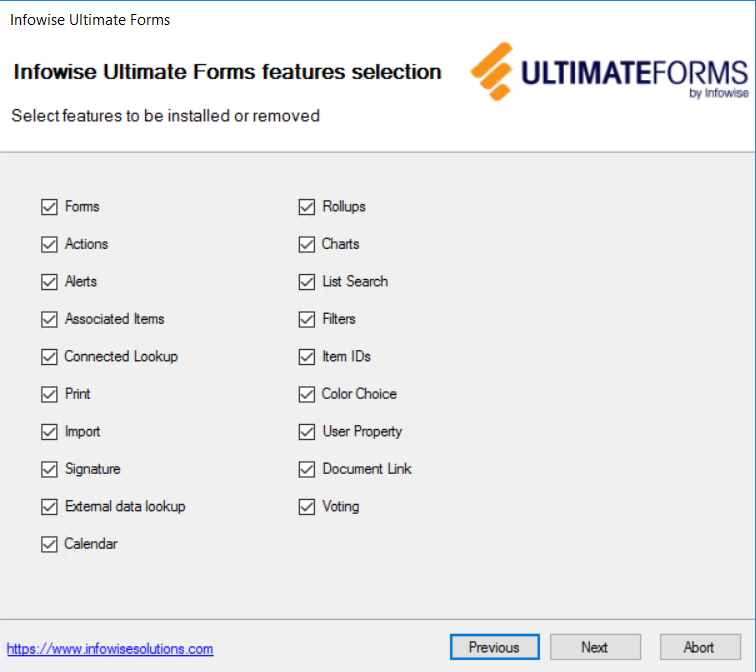
Important: unchecking a feature means that it will removed!
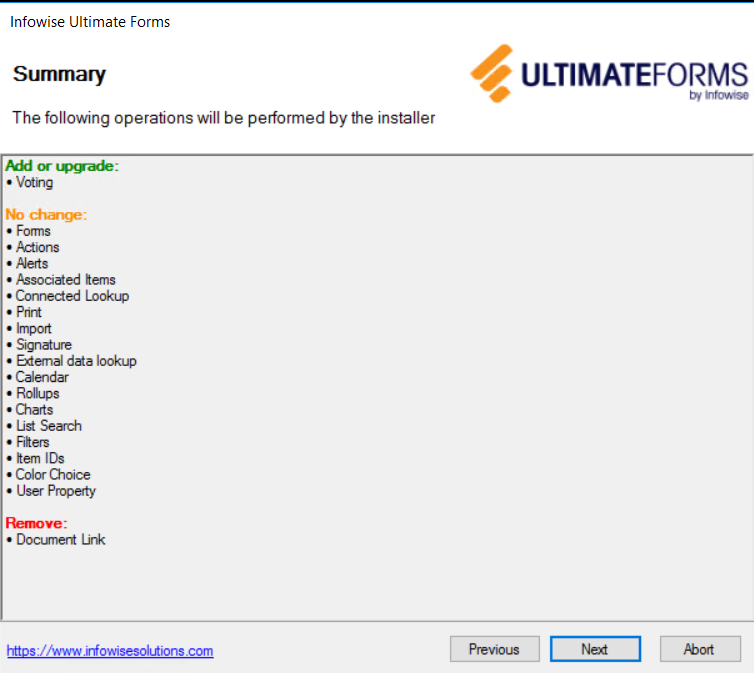
- Selection Summary – what changed will be performed by this installer according to the selection in the previous step.
- End User License Agreement - for new installation only, read and agree.
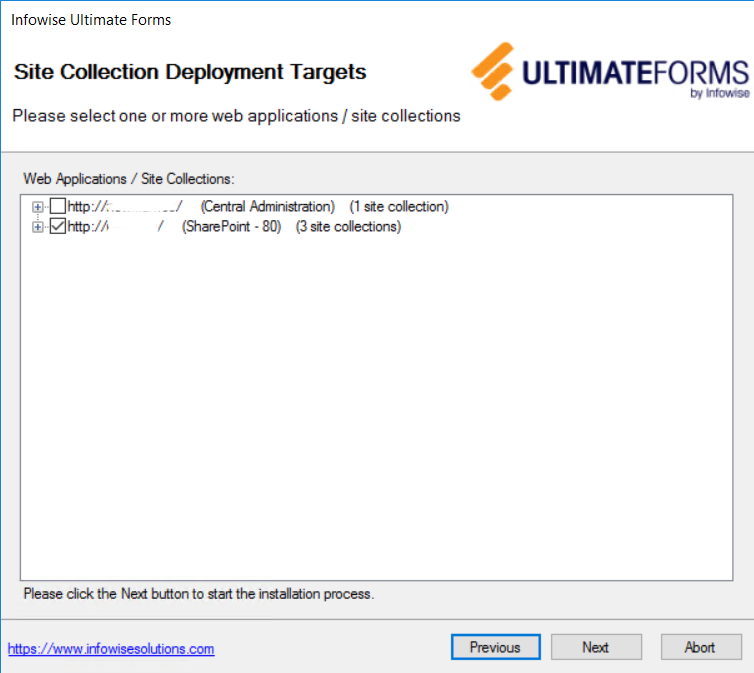
- Web application/site collection selection - for products containing web application/site collection features. Allows you to select the web applications to deploy the solution to and web applications/site collection features to activate. By default, all site collections, except Central Administration, are pre-selected
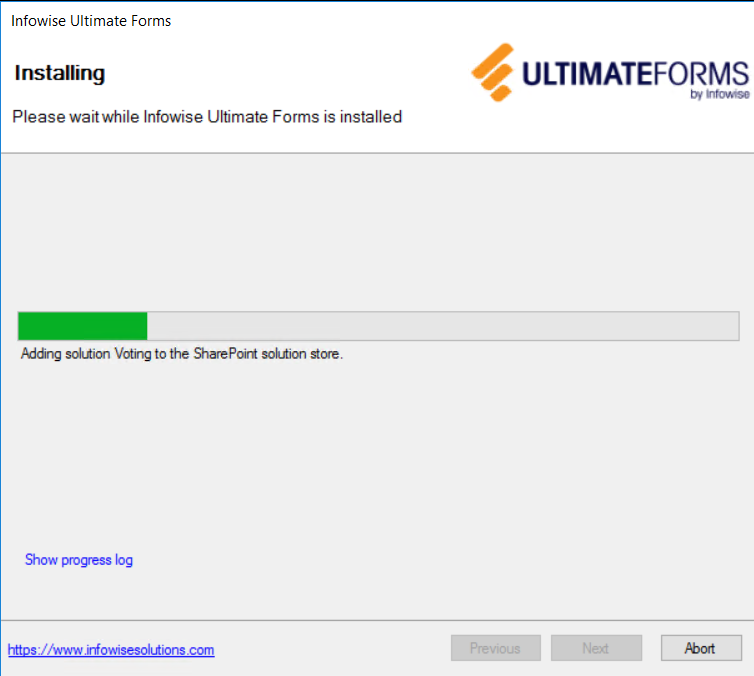
- Installation progress - display progress of the installation process
- Log - displays log of performed installation steps
- Finish – show installation summary output, click close to exit the wizard
NOTE: the installer automatically activates all required features. You do not need to manually activate any features, unless there are some optional capabilities that are not a part of this wizard. In that case, those features may need to be manually activated. Only do so when specifically instructed by our support team. See the links below for more infromation.
Get helpful videos
- Prerequisites
- Installation FAQ
- Common errors and resolutions
- Modern experience views
- Upgrade instructions
Also read these:
Last modified: 7/27/2025 1:53 PM
Loading...
Add your comment
Comments are not meant for support. If you experiencing an issue, please open a support request.
Reply to: from