
Introduction
I have always been enthusiastic about leveraging powerful tools to enhance the functionality and user experience of SharePoint solutions. Infowise Ultimate Forms is one such tool that allows you to create dynamic forms, automate workflows, and manage data efficiently without extensive coding. In this blog, I will guide you through the process of creating a custom resume submission form within SharePoint using Infowise Ultimate Forms.
Creating a custom resume submission form is an excellent way to streamline the recruitment process. With Infowise Ultimate Forms, you can easily build a form that collects all the necessary candidate information, ensures data accuracy with validation rules, and automates the workflow to store and manage resumes in SharePoint.
Step 1: Setting Up Your SharePoint Environment
Before we start building the form, ensure that Infowise Ultimate Forms. is installed and configured in your SharePoint environment. You can find detailed installation instructions here.
Step 2: Creating the Resume Submission Form
1- Navigate to Your SharePoint Site:
- Go to the SharePoint site where you want to create the resume submission form.
2- Create a New List Using Infowise Ultimate Forms:
- Click on the gear icon (Settings) and select "Site Contents."
- Click on "New" and choose "Infowise Ultimate Forms."
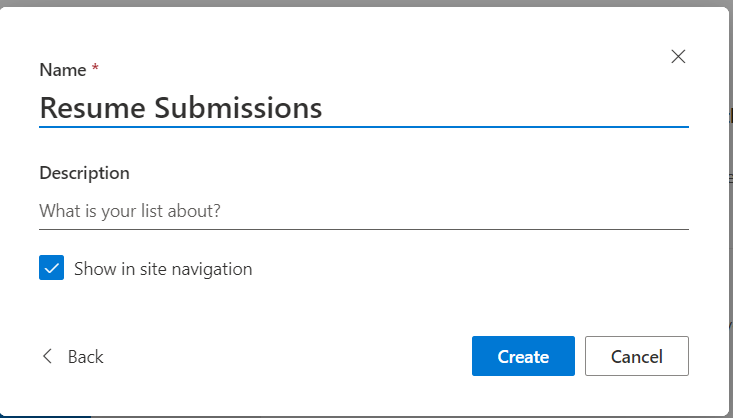
- Name the list (e.g., "Resume Submissions") and click "Create."
3- Add Columns to the List Using Infowise Design Screen:
- Go to the "Resume Submissions" list and click on "Design" in the Infowise Ultimate Forms ribbon.
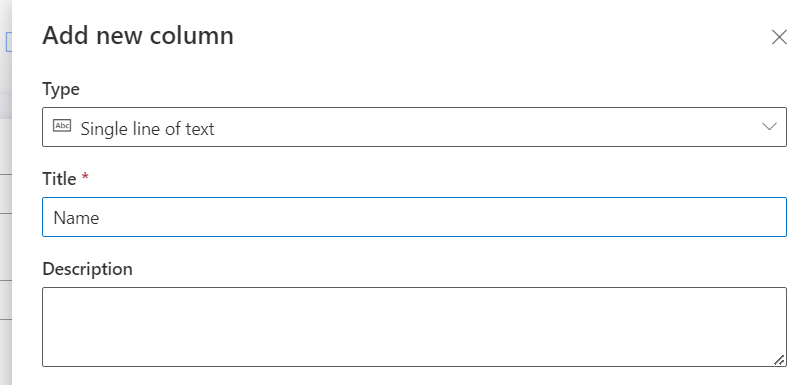
- Use the Infowise design screen to add the following columns to capture candidate information:
- Name (Single line of text)
- Email (Single line of text)
- Phone Number (Single line of text)
- Education (Multiple lines of text)
- Experience (Multiple lines of text)
- Skills (Multiple lines of text)
- Resume (Attachments)
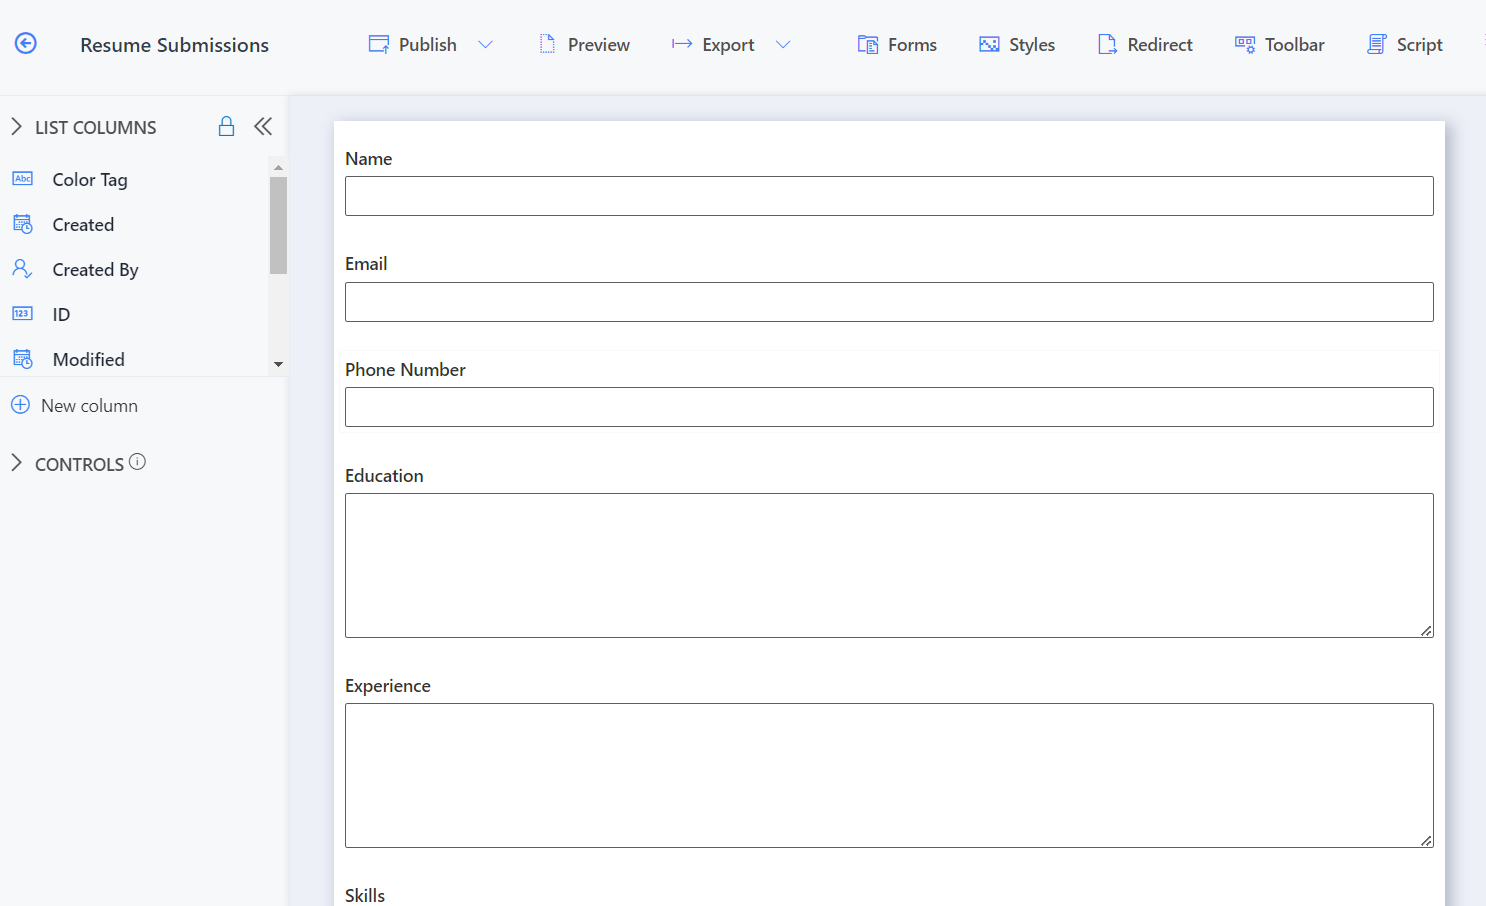
4. Design the Form with Infowise Ultimate Forms Specialist:
- Use the drag-and-drop interface in the Infowise design screen to add and arrange the fields.
- Customize the form layout to ensure it is user-friendly and captures all necessary information.
5- Set Up Validation Rules with Infowise Ultimate Forms Specialist:
- Navigate to Validation Rules:
- In the Infowise design screen, select the column for which you want to set up validation rules.
- Click on the "Settings" gear icon next to the column name.
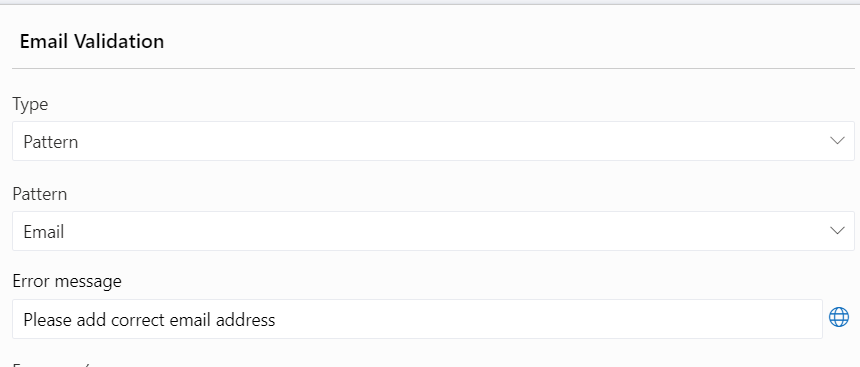
- Define Validation Rules:
- To validate the "Email" field, select the "Validation" tab and select “Type” Pattern and in “Pattern” dropdown choose email. This ensures the field contains an "@" symbol.
- Apply Validation Rules:
- Click "OK" to save the validation rules for each field.
- Ensure that all necessary validation rules are applied to maintain data integrity.
6- Set Up Workflows
- Navigate to Workflow Settings: In the Infowise Design screen, go to the Actions settings to define workflows.
- Define Workflow Steps:
- Notification: Set up an email notification to HR whenever a new resume is submitted.
- Approval Process: Create an approval workflow where submitted resumes are reviewed and approved by HR before they are stored.
- Data Integrity: Add actions to check the completeness and integrity of the submitted data.
- You can read more about workflows here
Step 3: Managing Submitted Resumes
- Organize and Manage Data:
- Create Custom Views:
- In the " Resume Submissions” list create custom views to sort and filter resumes.
- Set up views based on criteria such as education level, years of experience, or specific skills.
- Use Filters and Metadata:
- Utilize SharePoint filters and metadata to categorize and manage the submitted resumes effectively.
- Apply metadata tags to resumes for easy search and retrieval.
Conclusion
Creating a custom resume submission form with Infowise Ultimate Forms significantly enhances the recruitment process by ensuring accurate data collection and automating workflows. This not only saves time but also improves the overall efficiency of managing candidate information. I encourage you to explore the capabilities of Infowise Ultimate Forms and leverage its powerful features to create custom forms tailored to your business needs.
Happy form building!