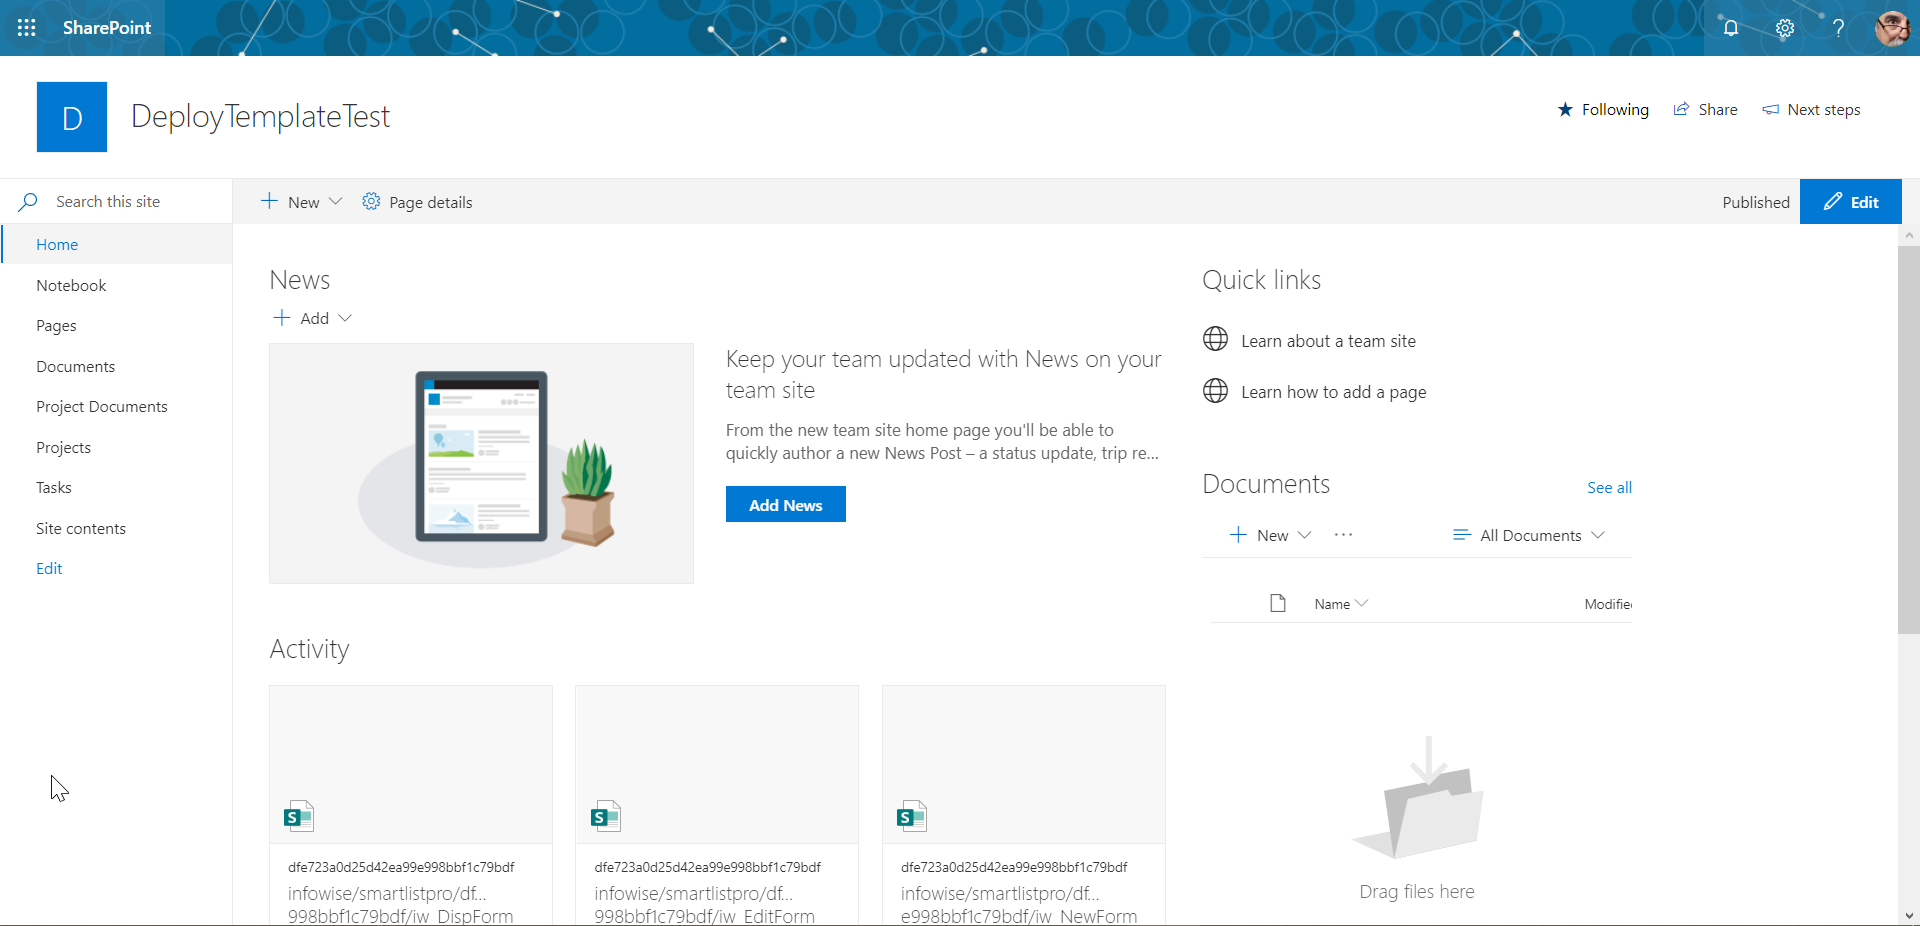
Creating a site from a Business Solution Template
You can now use preconfigured templates to quickly deploy a fully-featured SharePoint site, complete with pages, lists, forms, Actions, Alerts, and more already included.
Instructions
The site creation & deployment process is extremely simple.
NOTE: You will need to make a decision before you begin about the location of the site. Since you can create a new site as a subsite to your current location, or apply a solution template to an existing site, where you create it from is important.
In this example, we’ll create a subsite under an existing site.
Start by navigating to the UltimateForms Design Screen, either from the site contents or within a list or library.
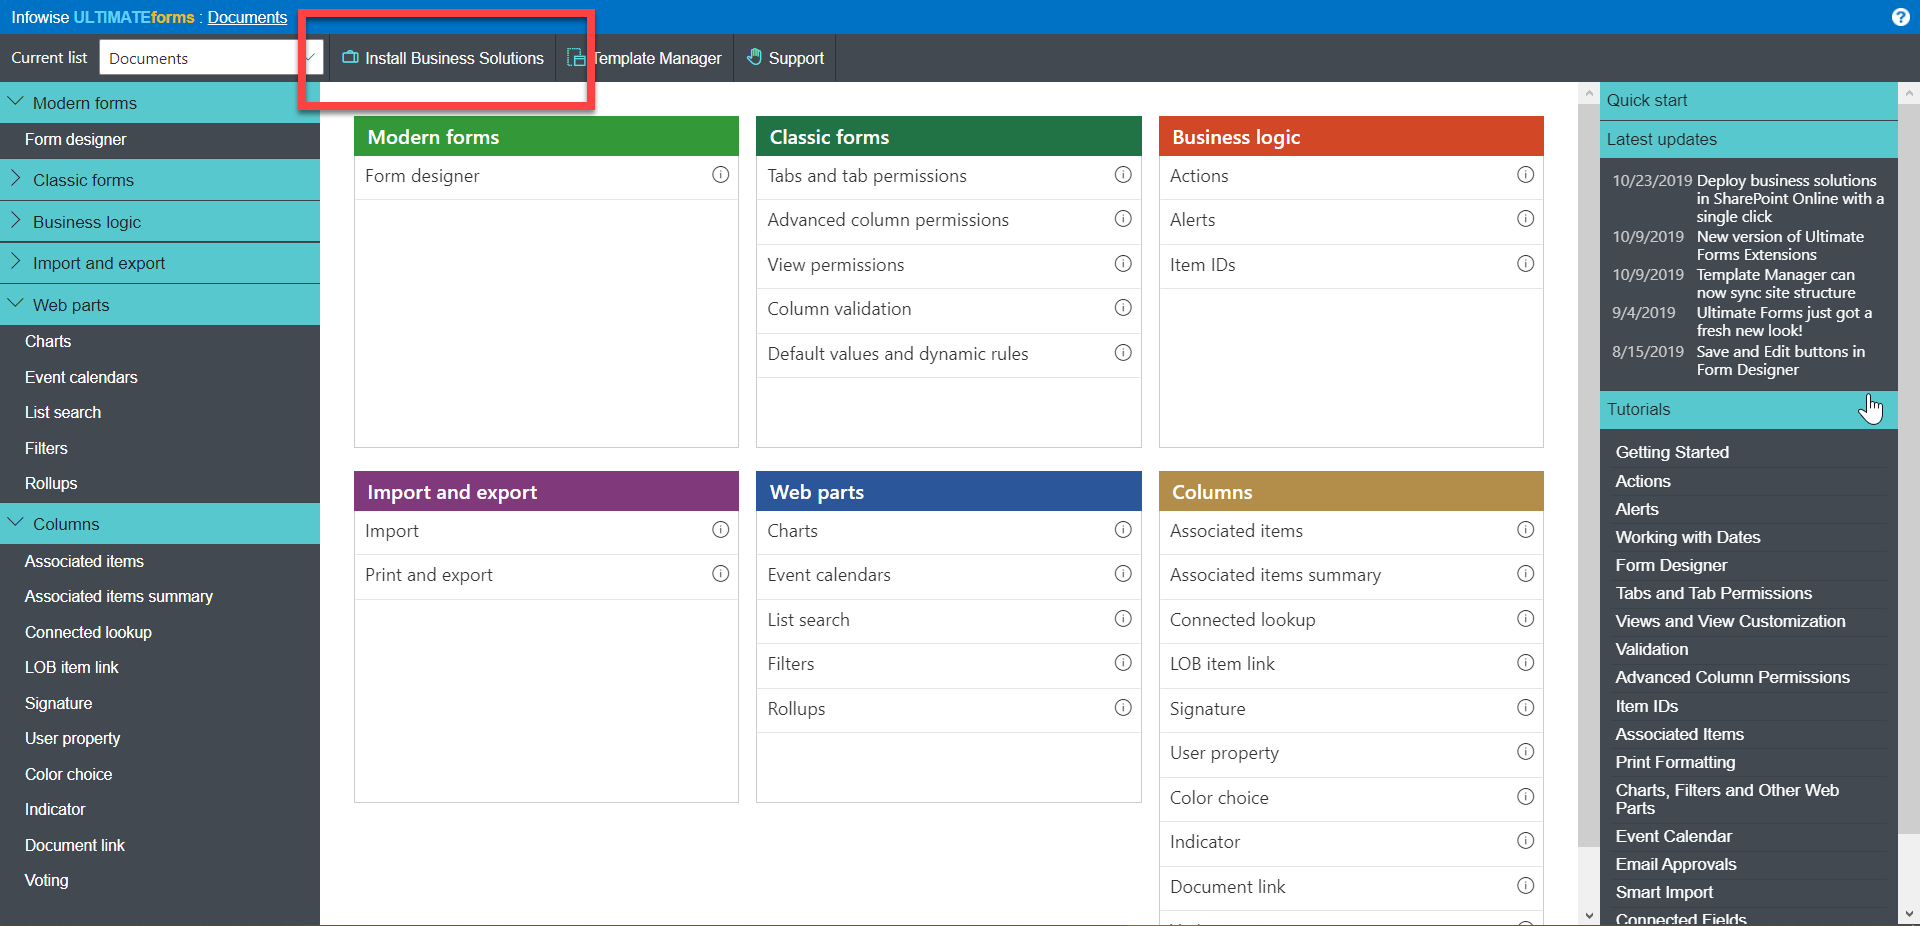
On the UltimateForms Design Screen, click the link to Install Business Solutions in the top menu bar.
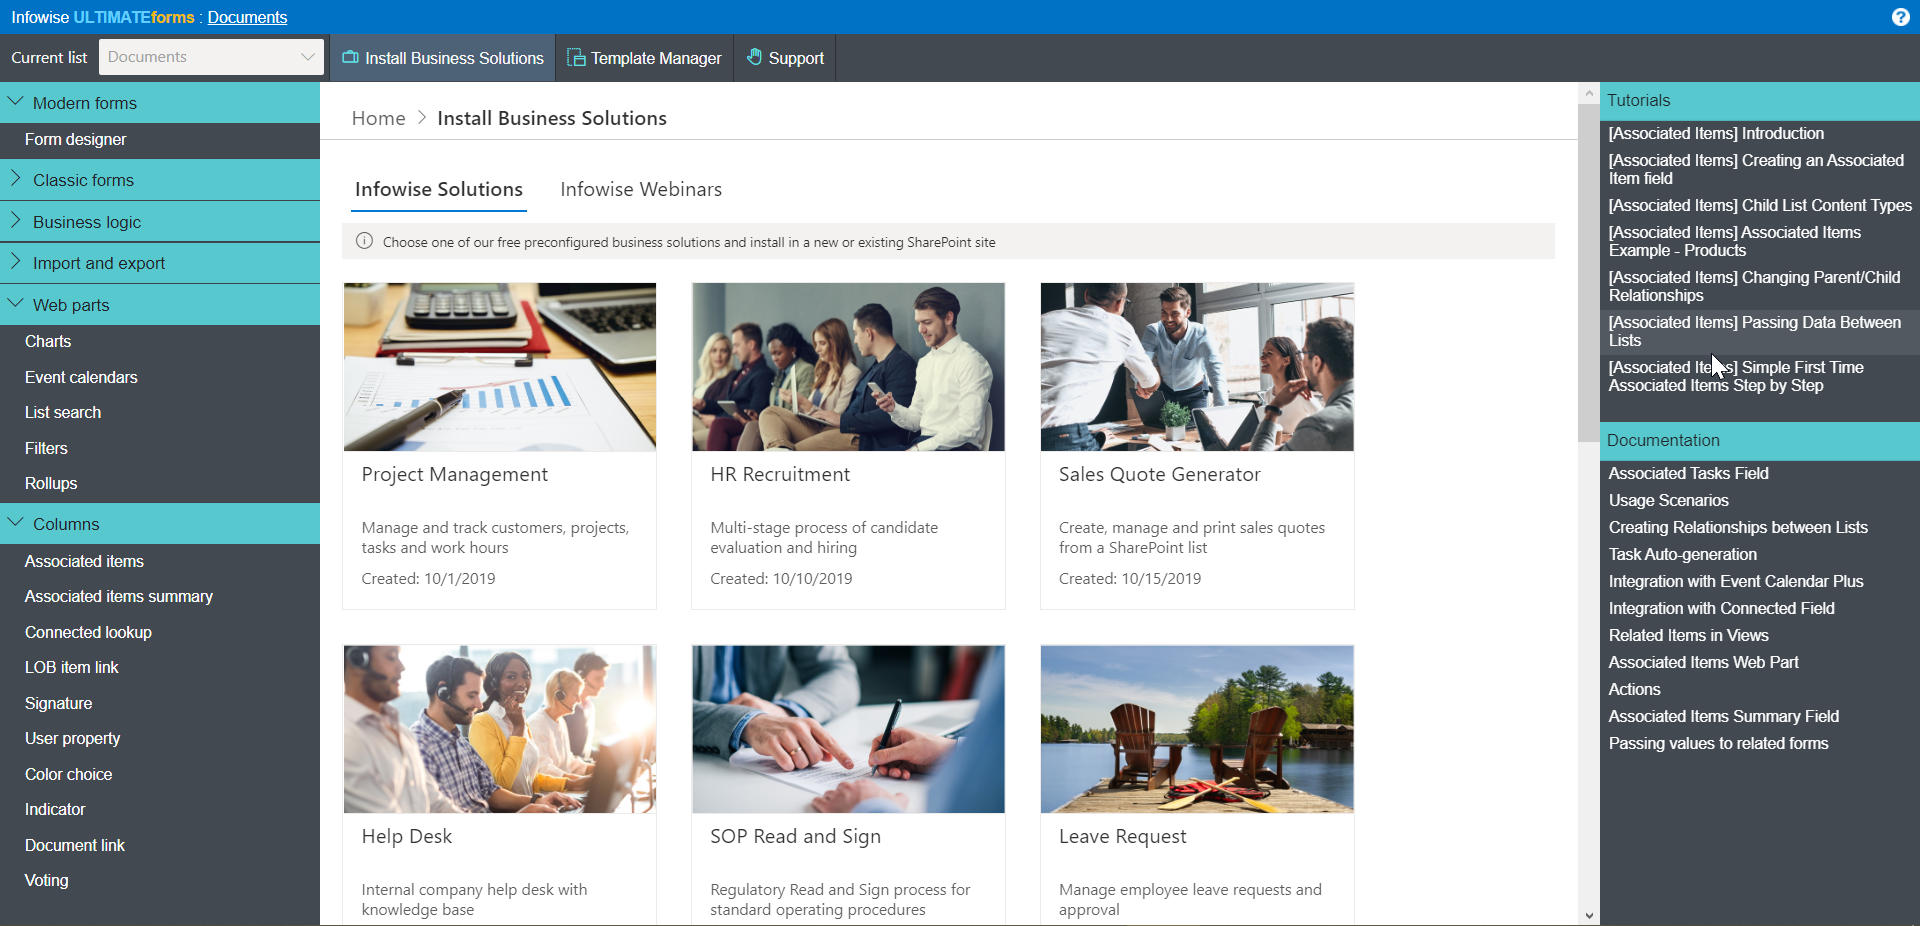
Choose one of the preconfigured business solutions shown on the page. There are also preconfigured solutions which will become available based on some of the Infowise webinars; click the Infowise Webinars tab to see those.
Click the desired solution template. A more detailed description of the solution along with a video demonstrating its features will be available.
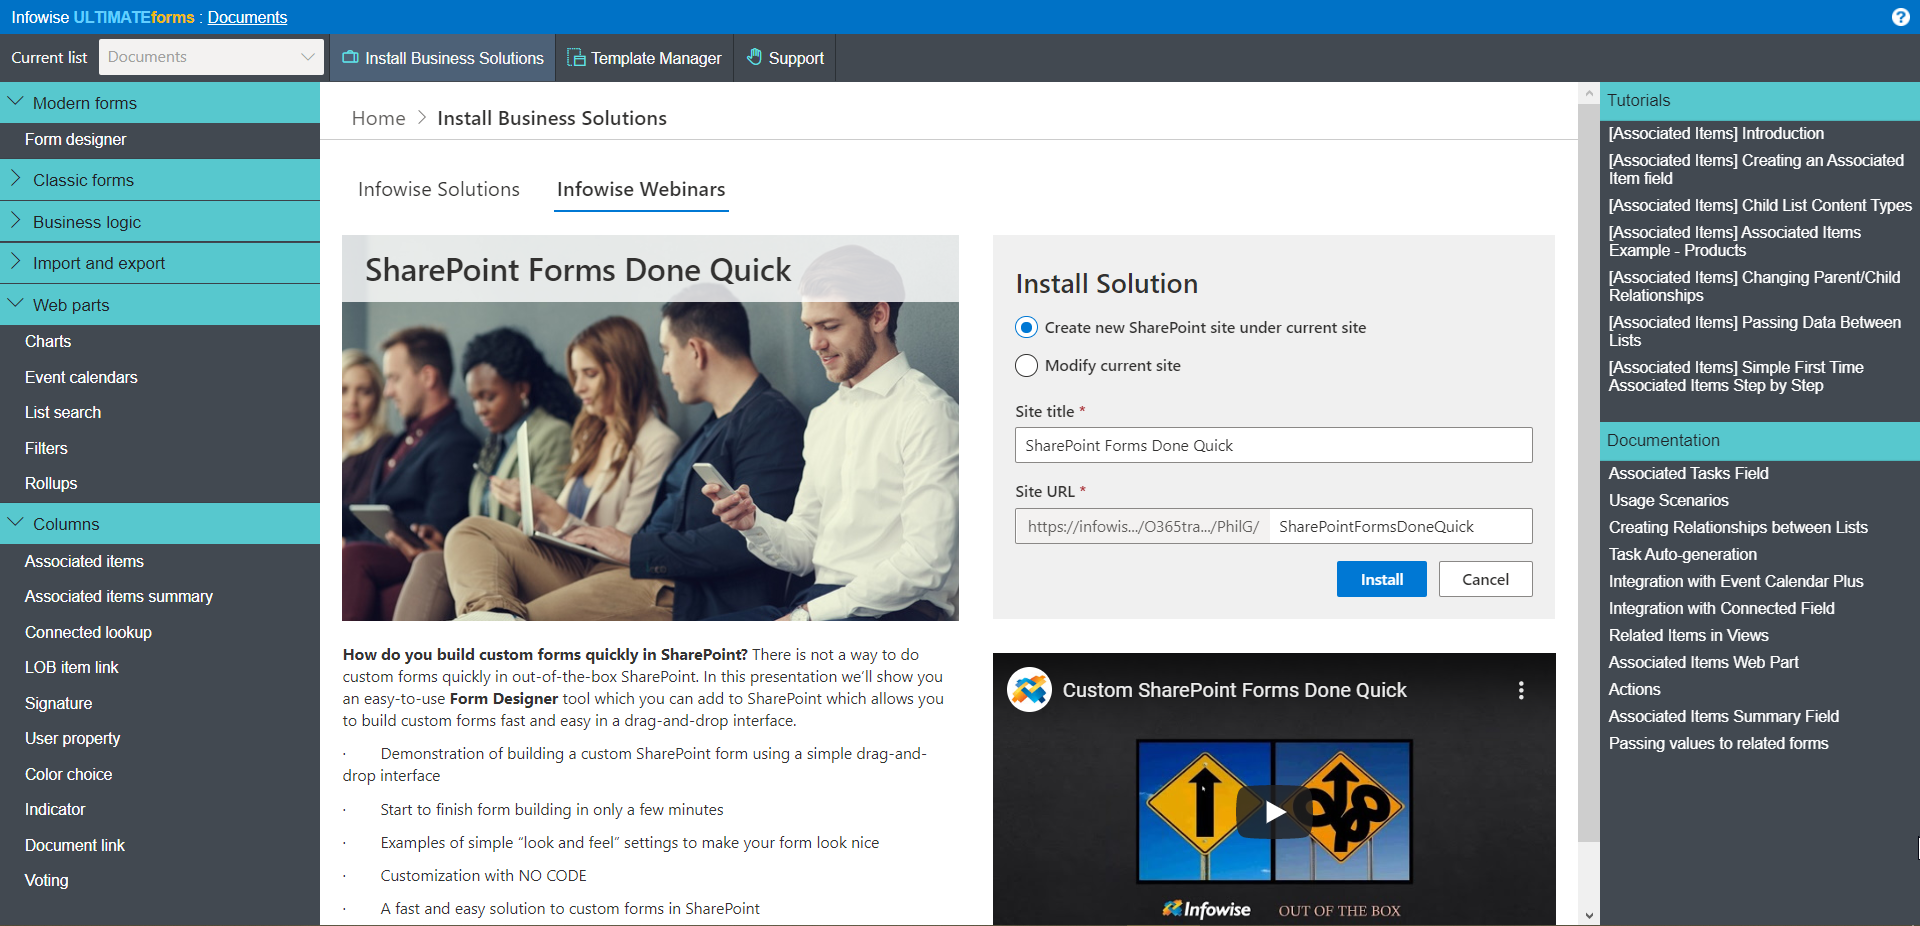
Modify the name of the site as desired. As you type, the URL will change to match automatically. Click Install when ready.
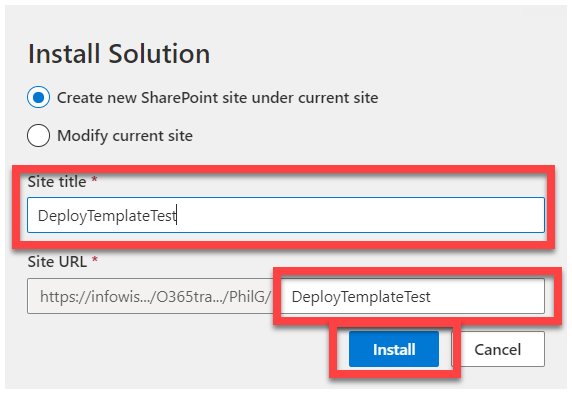
NOTE: If you chose to apply the template to the current site, it will remove and replace all existing site content. It’s recommended that you do this only on a brand new and empty site to avoid losing your work. However, the site name will not change.
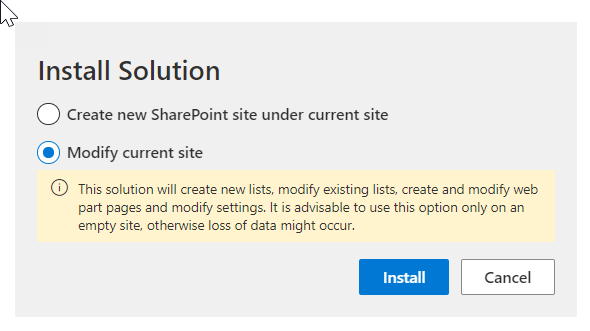
You will be asked once more to verify installation; click Yes to proceed.

After you click Install, the deployment process will begin. There will be a log that generates during the process so that you can see progress; typically, this takes approximately five minutes.
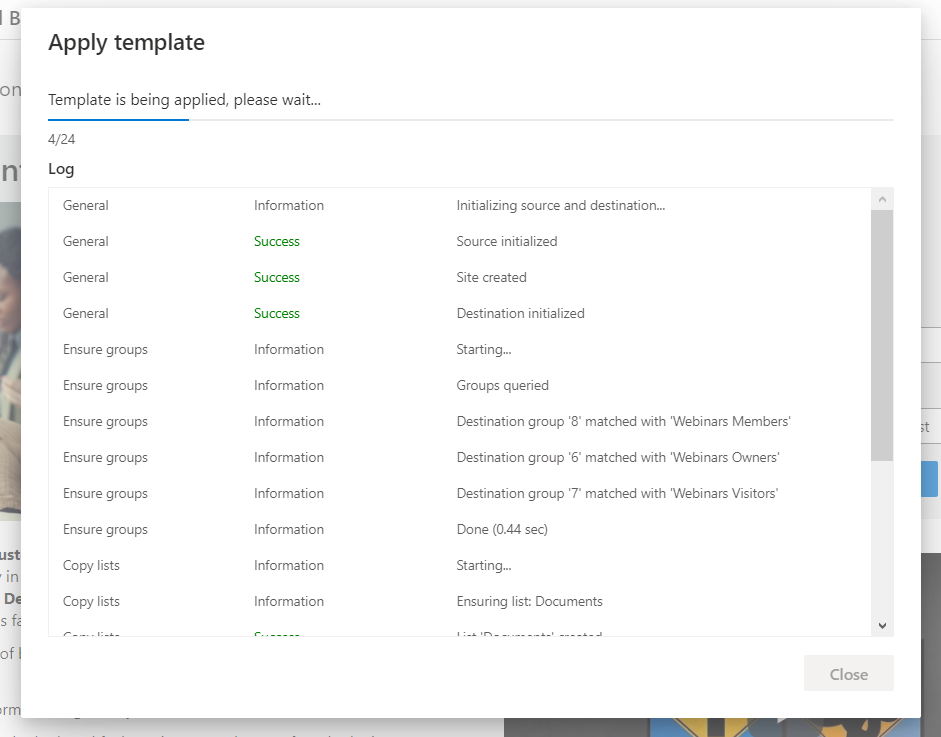
When the process is complete, you will get a success message. Click Close to close the log window and continue.
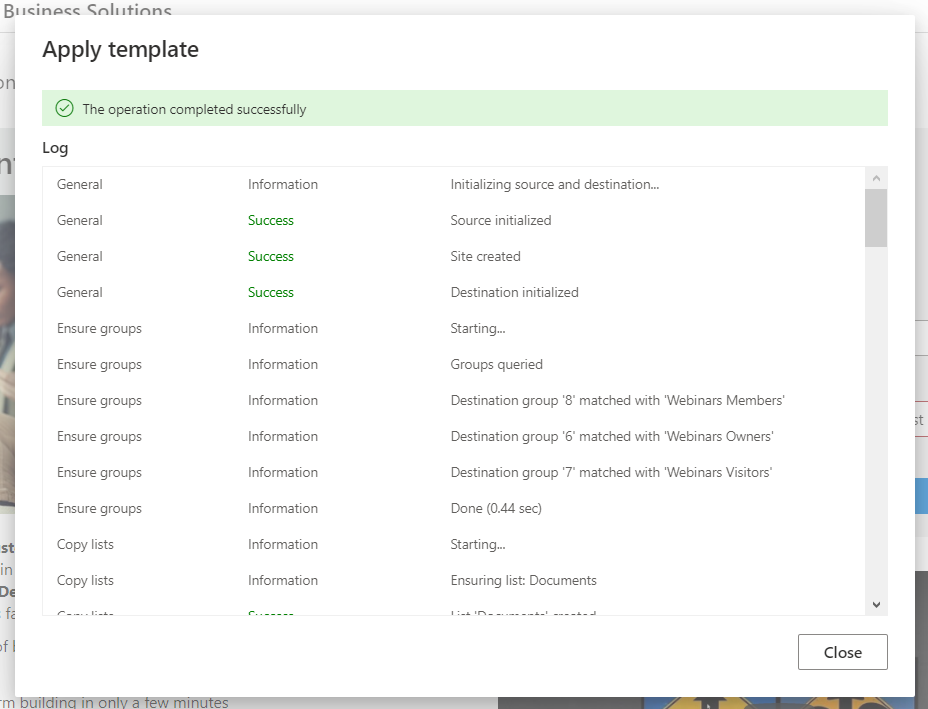
Your new site will open automatically; you will also receive an email confirming site creation.
